















Emergence Day throws a wide range of Locust enemies at you, from fast Wretches and tactical Drones to heavily armored units, special creatures, and massive bosses. Each enemy has different attacks, weaknesses, and behaviors, so knowing what you’re facing can make difficult encounters much easier to manage.
This ultimate Gears of War: E-Day boss and special enemy guide covers the major enemy types you’ll encounter throughout the campaign and multiplayer modes. Master their exact attack patterns, find critical weak points, and learn the best strategies to survive the Locust horde!
Gears of War: E-Day Enemies at a Glance
Before jumping into each enemy in detail, it helps to review a quick breakdown of what you’re up against in the field:
| Enemy | Type | Best Approach |
|---|---|---|
|
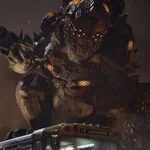
Brumak
|
Boss | Keep moving and attack when you have a clear opening. |
|
Weaponized Brumak
|
Boss | Strip its armor and deal with its mounted weapons. |
|
Scoria
|
Boss | Focus on one target at a time and avoid its aerial attacks. |
|
Corpser
|
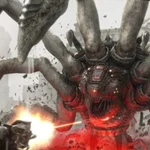
Boss | Bait its charges into the arena pillars. |
|
Vraahk
|
Final Boss | Keep moving, avoid grenades, and clear enough reinforcements. |

How Enemy Encounters Work in Gears of War: E-Day
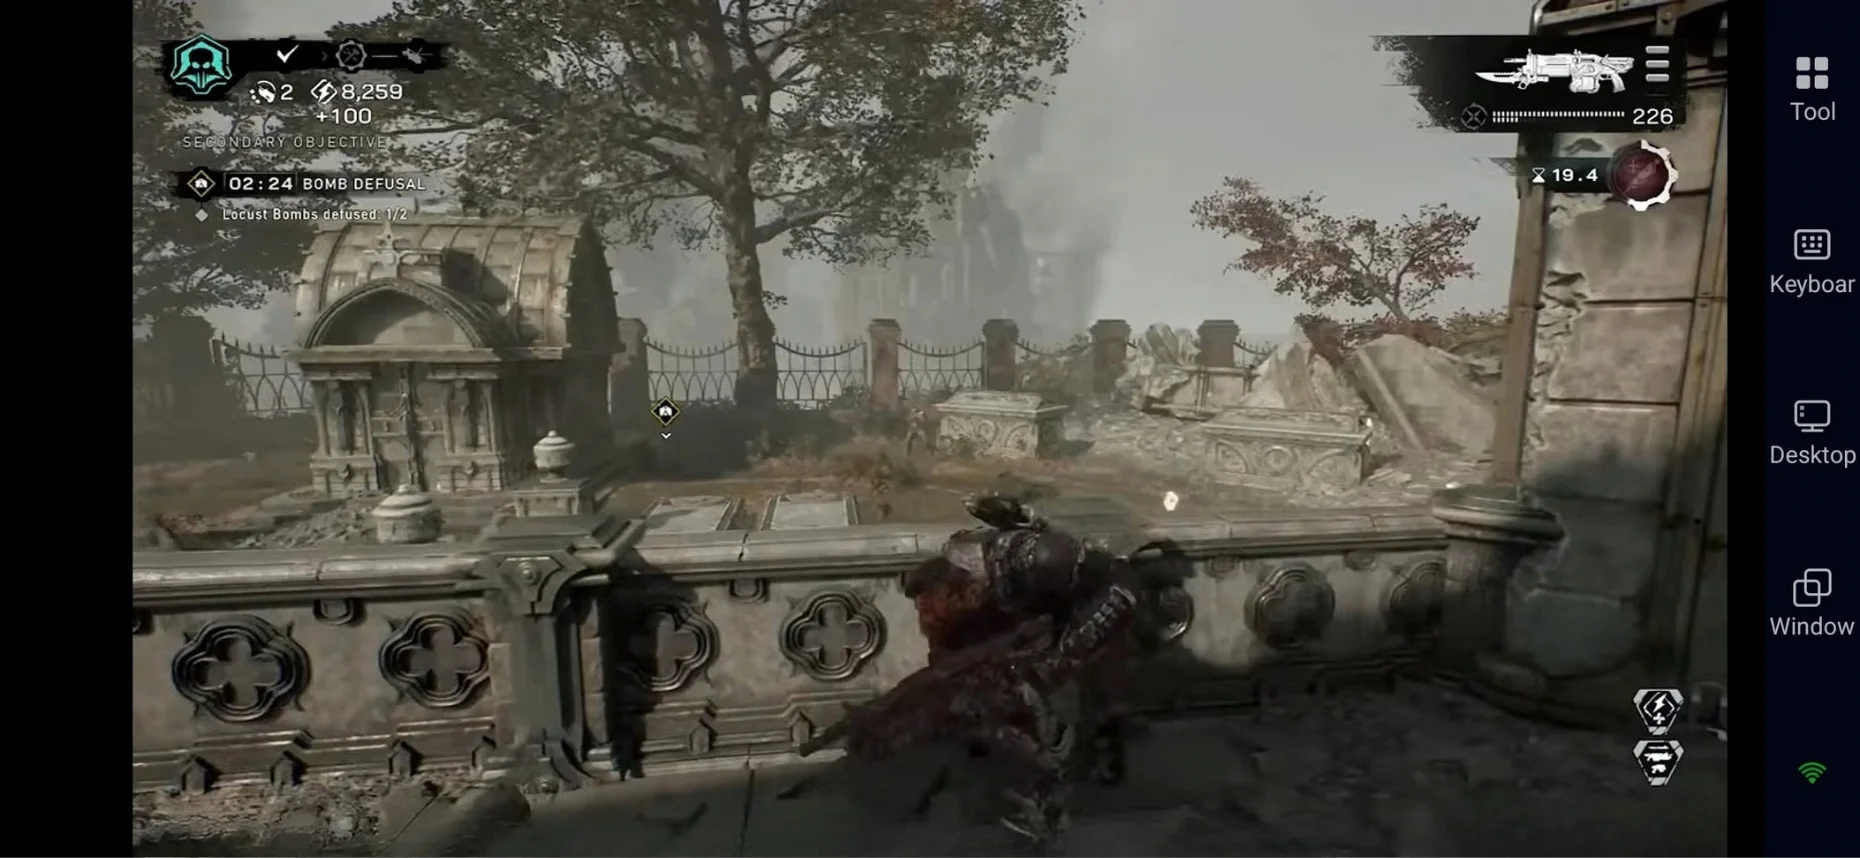
The Locust get progressively tougher as you move through the campaign. Early fights mostly involve fast Wretches and small enemy groups, while later chapters introduce smart Drones, heavy units, special threats, and massive bosses.

Trump Stuns By Outright Dismissing Notion Putin Preparing To Attack A NATO State
President Trump has added fuel to the fire of controversy and speculation…

Why Samsung Odyssey Ark Dominates As The Best Gaming Monitor Of 2022
Welcome back to the Philly PI hardware desk, where we put the…

Meuser Chairs FSC Oversight & Investigations Committee Hearing in Little Rock
As congressional oversight intensifies across the nation, U.S. Representative Dan Meuser (PA-09)…

Exposes Five Hidden Newegg Shopping Hacks To Stop Overpaying For PC Parts
Welcome back to the hardware desk here at The Philly PI. If…

A Full History of DeepSeek: Every Model Released from 2023 to 2026
DeepSeek Model Release Timeline: From DeepSeek-Coder to V4.1-Flash A complete chronological guide…
Finland’s First F-35As Arrive in the Country as NATO’s Fifth-Generation Network Expands Across the High North
Finland’s first two F-35A Lightning II fighters have landed at Rovaniemi, with…
Keep these core operational guidelines in mind during every engagement:
- Early Fights: Watch out for fast Wretches that rush your squad in packs.
- Drones: They utilize cover, flank your flanks, and punish reload cycles.
- Heavy Enemies: Boomers dish out massive explosive damage, while Seeders flush you out of safety.
- Reavers: Aerial units that drop off additional infantry reinforcements.
- Emergence Holes: Toss Frag Grenades directly into E-Holes to seal them permanently.
- Bosses: Study boss animations and strike during brief vulnerability windows.
- Mobility: Never stay pinned in one spot for too long during large firefights.
- Flank Awareness: Keep tabs on your peripheral vision; enemies love multi-directional attacks.
PRO-TIP: Closing Emergence Holes early cuts down the number of active combatants, saving precious ammunition for heavy threats!
All Gears of War: E-Day Enemy Types
The campaign splits foes into three distinct tiers: Regular Enemies, Heavy Enemies, and Special Enemies. Adapting your tactics to each tier is the secret to survival.
Regular Enemies
Regular infantry make up the bulk of campaign encounters. Though lacking heavy armor, they swarm and overwhelm careless squads quickly.
Wretches
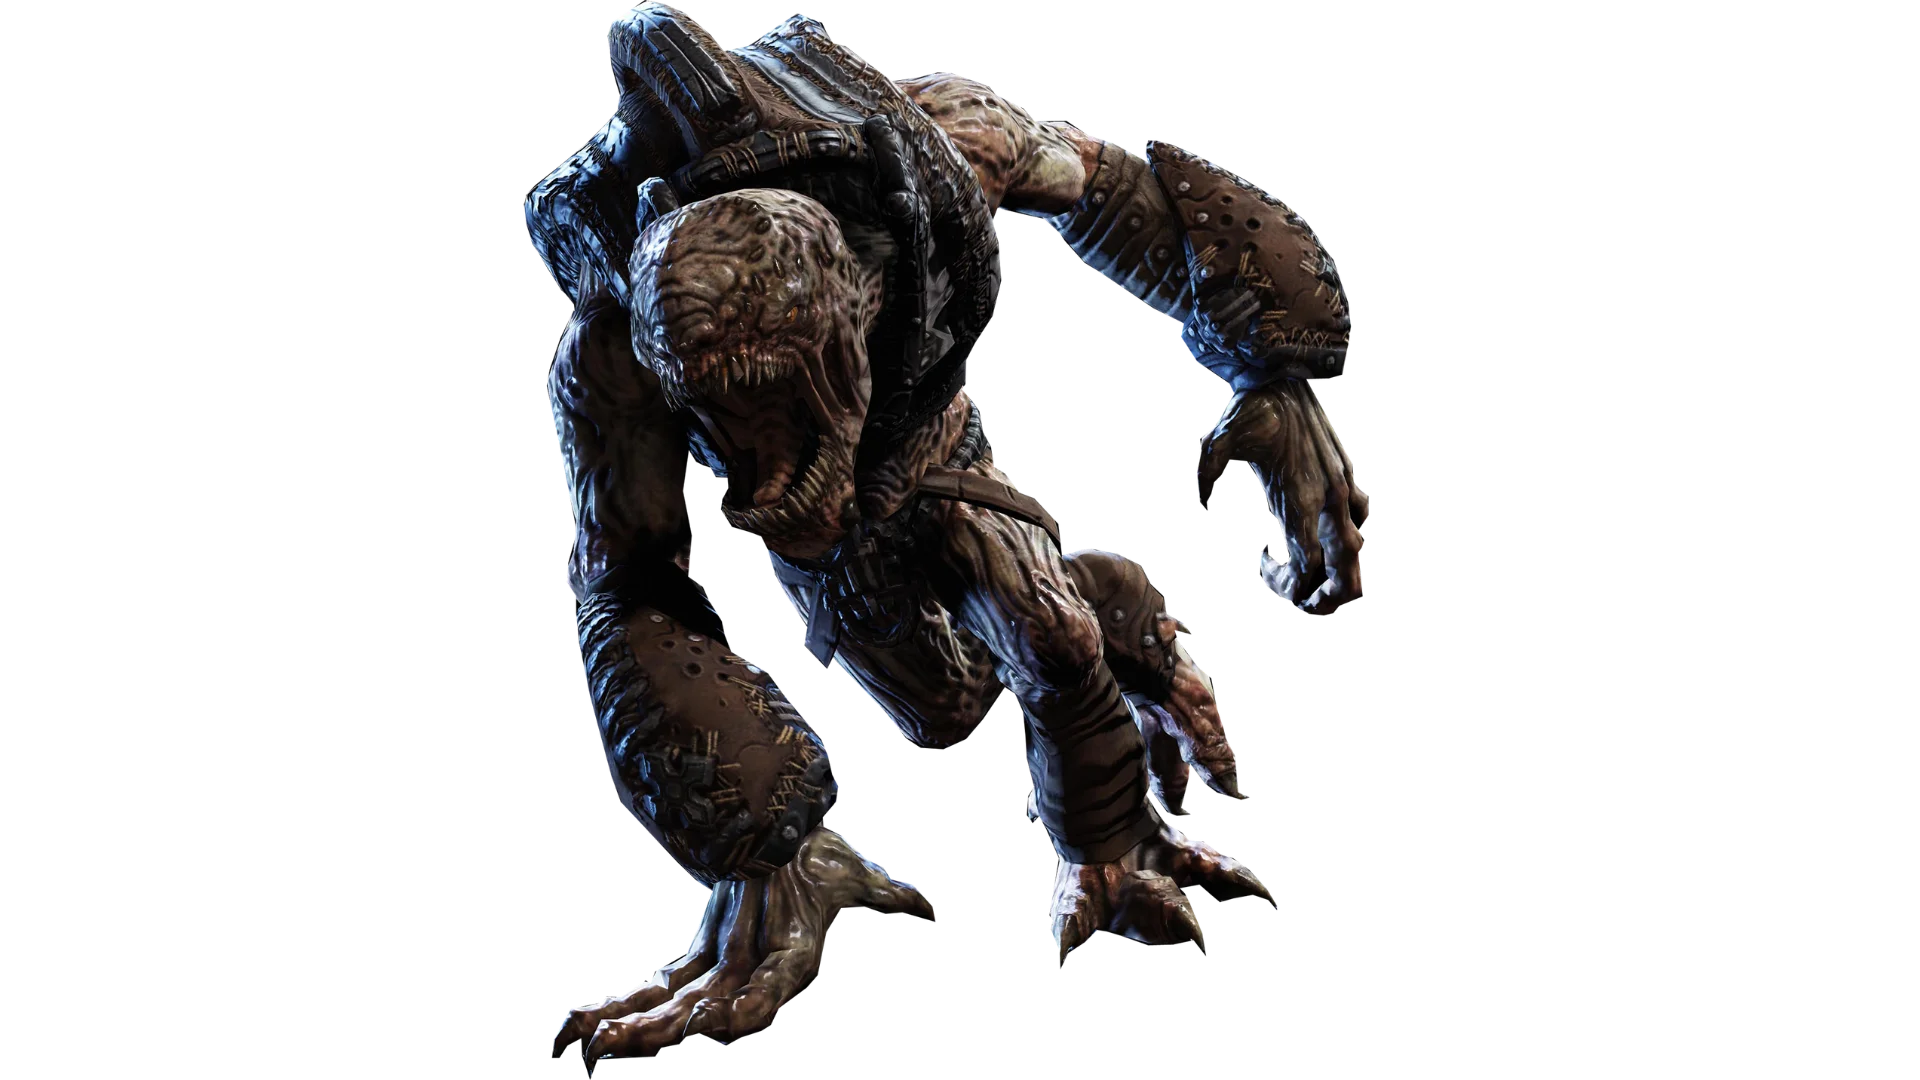
Wretches are aggressive melee combatants that attack in swarms. They scale walls and ceilings to ambush your squad from unexpected angles.
Feral Wretches
Feral Wretches rush down players early in the game. Deal with them before they completely surround your team.
Best ways to deal with Feral Wretches:
- Keep your back against a wall when possible.
- Switch to the Gnasher shotgun when they get close.
- Use fire or crowd-control area attacks on grouped packs.
- Eliminate them before they break your defensive perimeter.
- Prevent them from forcing you out of secure cover.
Armored Wretches
Armored Wretches appear later with protective plating. Their high-pitched screams can disorient your squad and disrupt tactical coordination.
When fighting Armored Wretches:
- Take them out immediately upon sight.
- Never ignore them during major chaotic firefights.
- Maintain distance to avoid panic attacks.
- Anticipate their disorienting screeches.
- Keep them away from the center of your squad formation.
Locust Drones
Drones are the tactical backbone of the Locust military. They use cover effectively, coordinate flanking maneuvers, and strike when you are vulnerable.
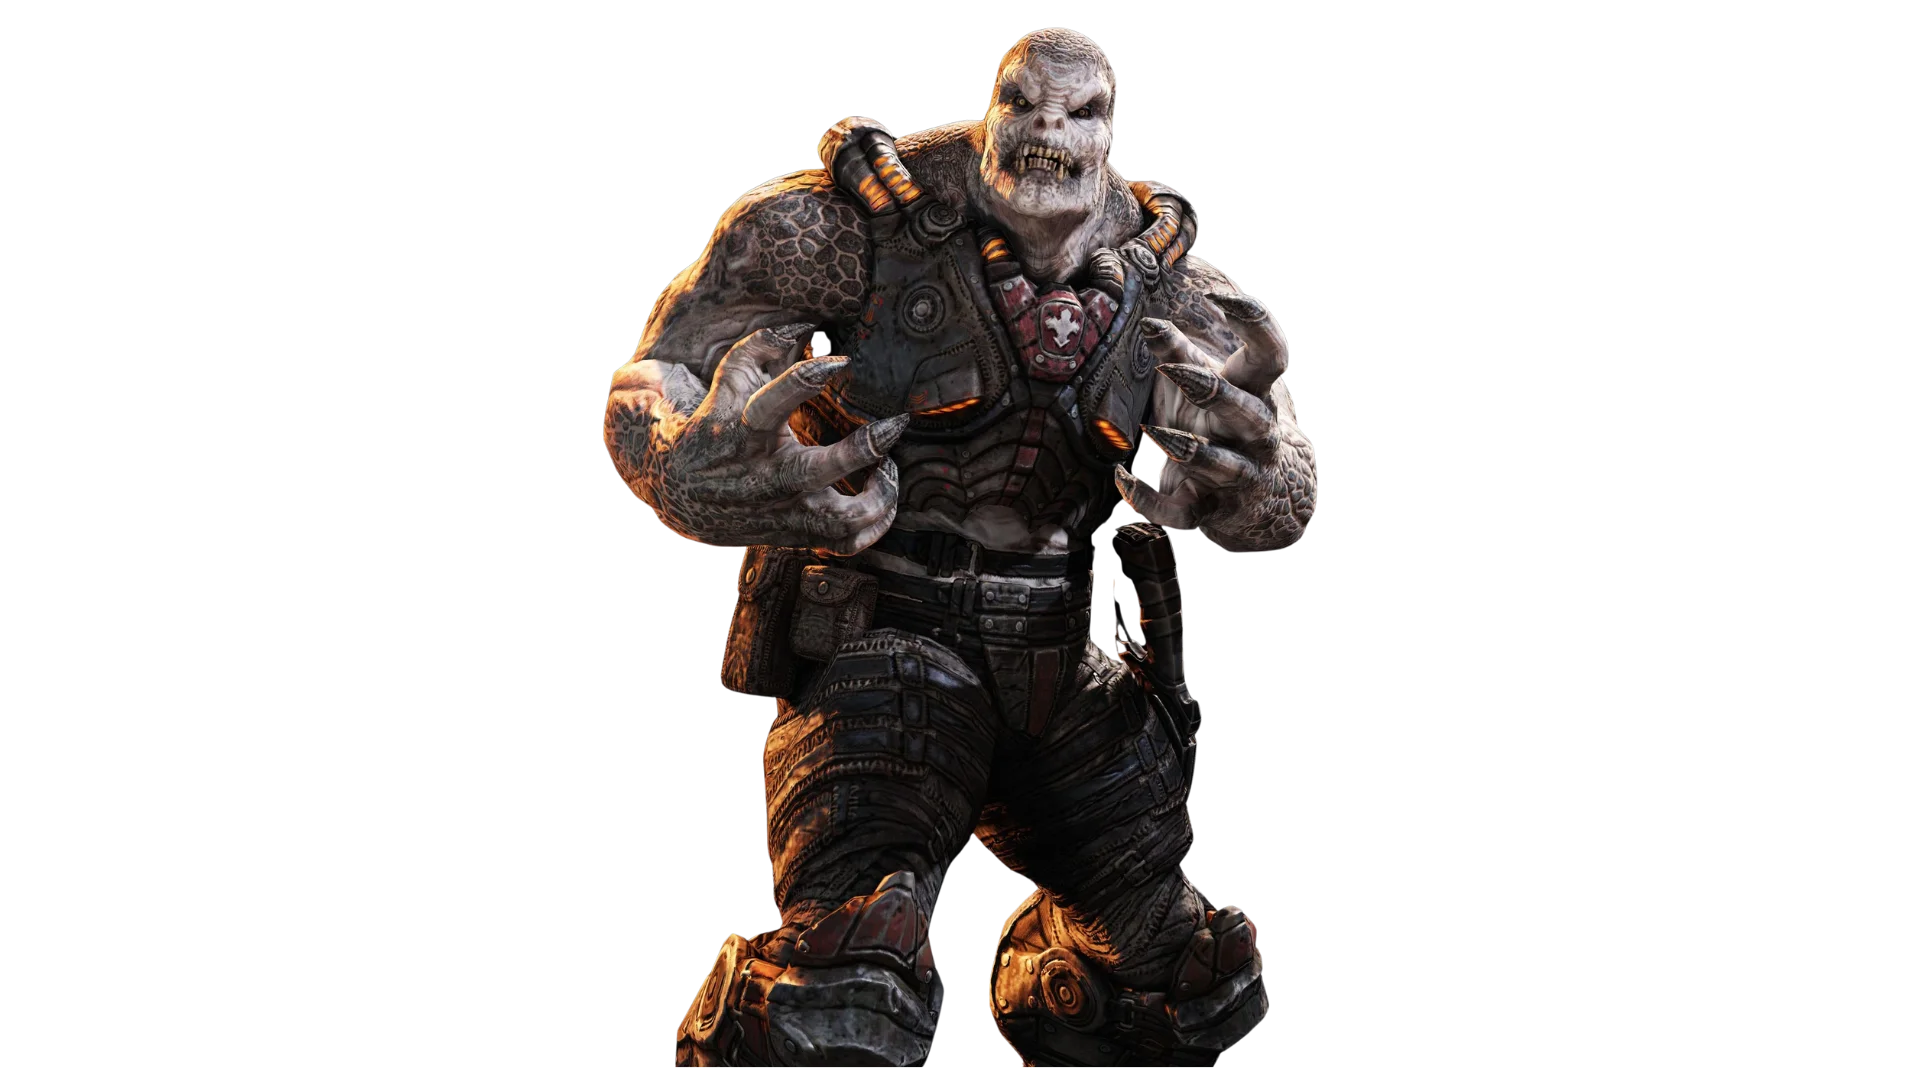
You will face specialized Drone classes including Rushers, Snipers, and Grenadiers. Prioritize targets based on position rather than proximity.
How to Defeat Drones
Precision headshots with high-accuracy rifles like the Longshot drop standard Drones instantly.
Watch for:
- Flanking routes and double-team maneuvers.
- Incoming enemy grenades.
- Smoke screens and visual cover.
- Sniper glints and high-ground posts.
- Rushers pushing your barricades.
- Reload windows punished by aggressive fire.
Juvies and Hollow Creatures
Juvies and small Hollow beasts spawn during large waves and boss battles. They threaten your footing while bigger threats loom.
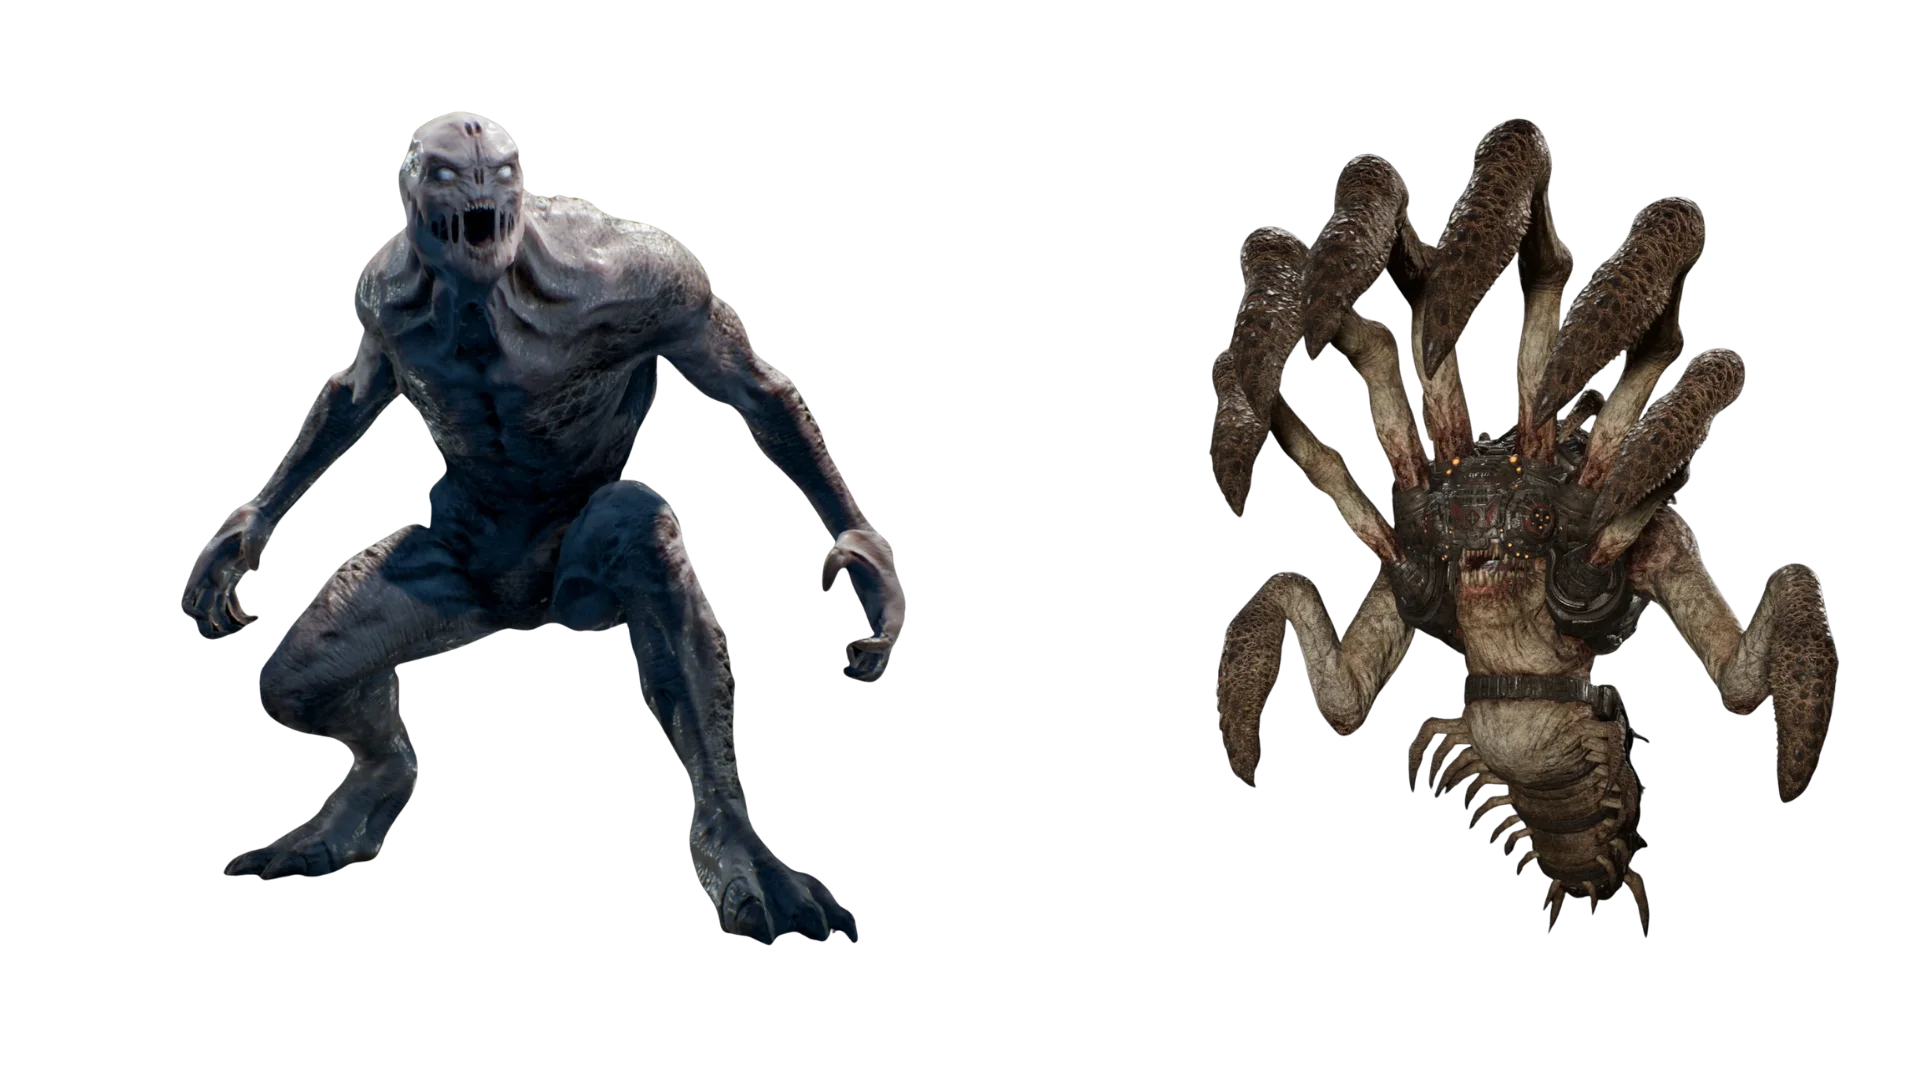
When they appear:
- Clear them out if they block your movement lanes.
- Stop them from surrounding team members.
- Keep an open retreat path available.
- Focus fire when they charge in close.
- Do not waste heavy ammunition chasing stragglers.
Heavy Enemies
Heavy units feature superior durability and devastating firepower. Treat them as top priority targets during multi-tiered battles.
Boomers
Boomers are heavily armored shock troops equipped with explosive weaponry. Their slow movement gives you plenty of time to set up defensive counters.
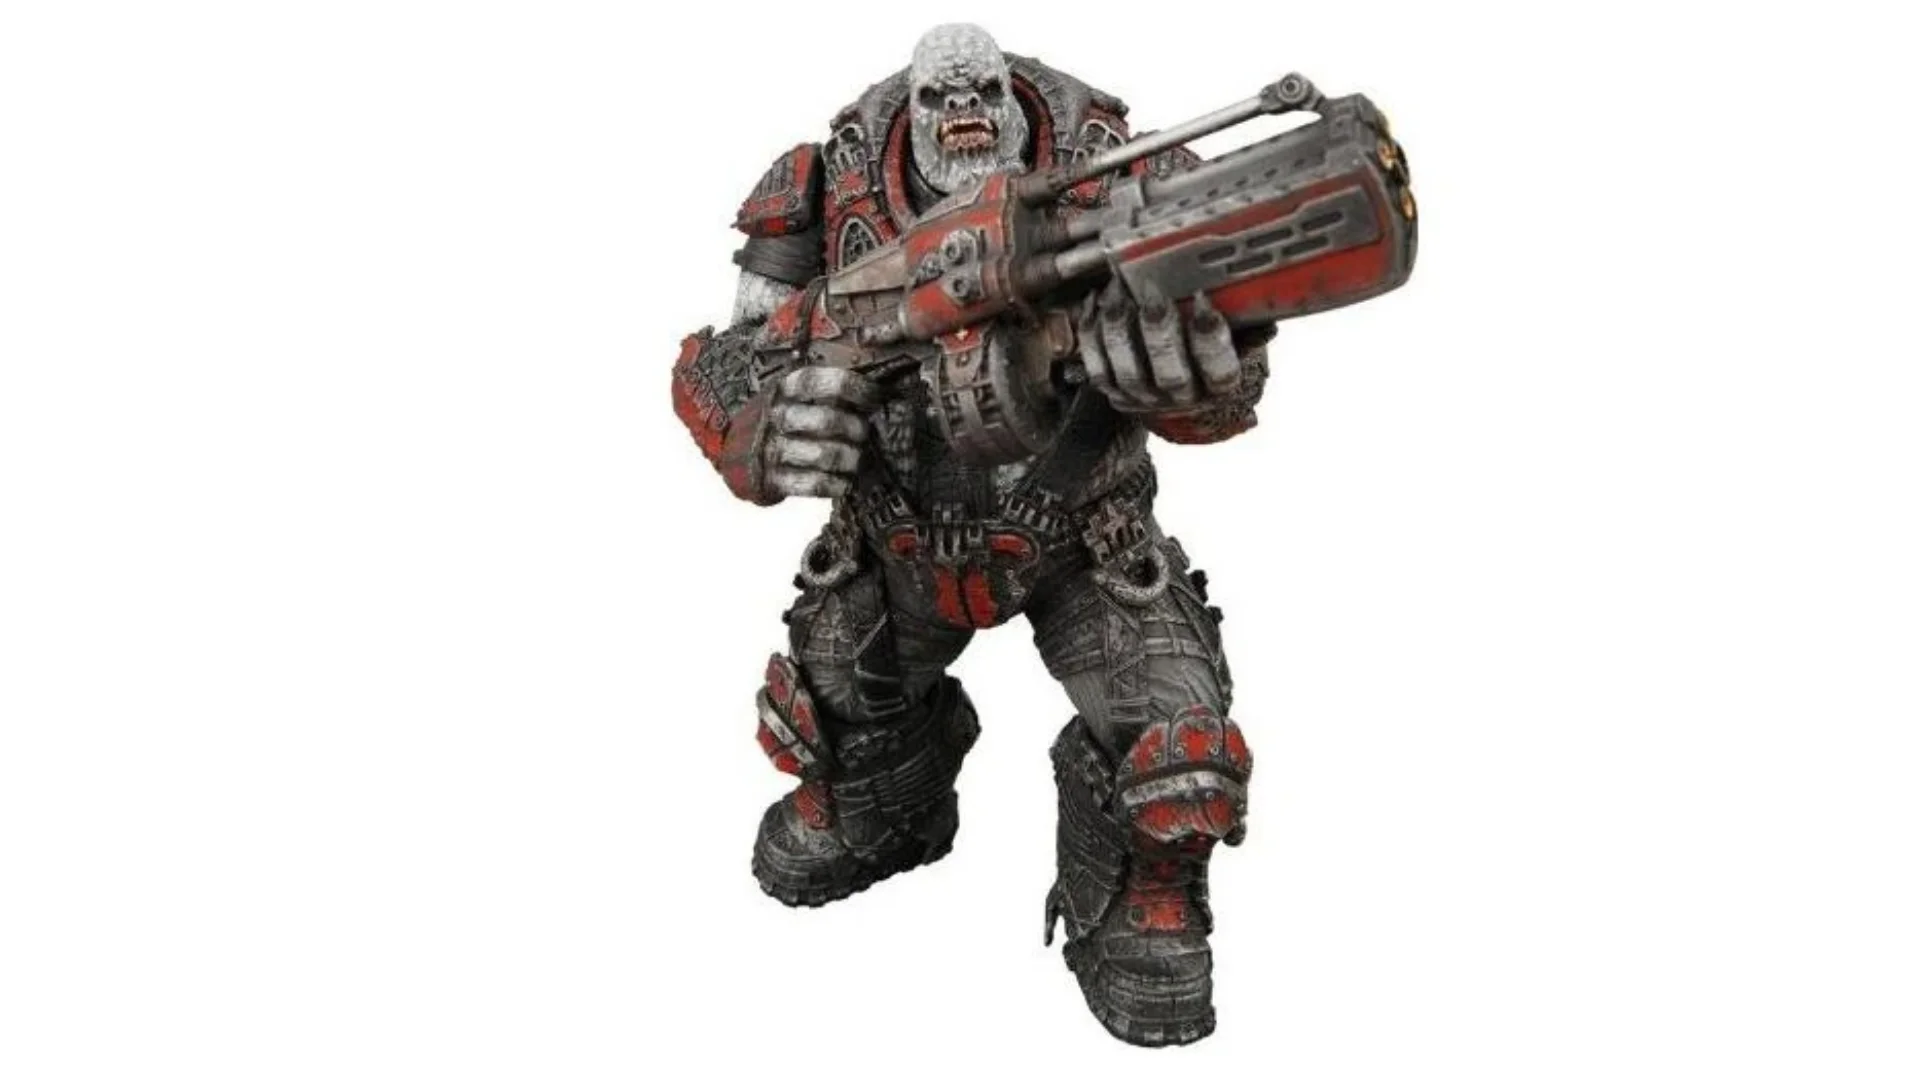
How to Defeat Boomers
Use sturdy cover and wait out their firing cadence before retaliating.
Try to:
- Target their exposed head weak points.
- Attack during their slow reload animations.
- Stay hunkered down while they launch payloads.
- Deploy high-damage ordnance.
- Save heavy weapons for elite encounters.
- Execute chainsaw kills with the Prototype Lancer when staggered.
Seeders
Seeders are area-denial mini-bosses that bombard your position with deadly Nemacyst projectiles, forcing you out of cover.
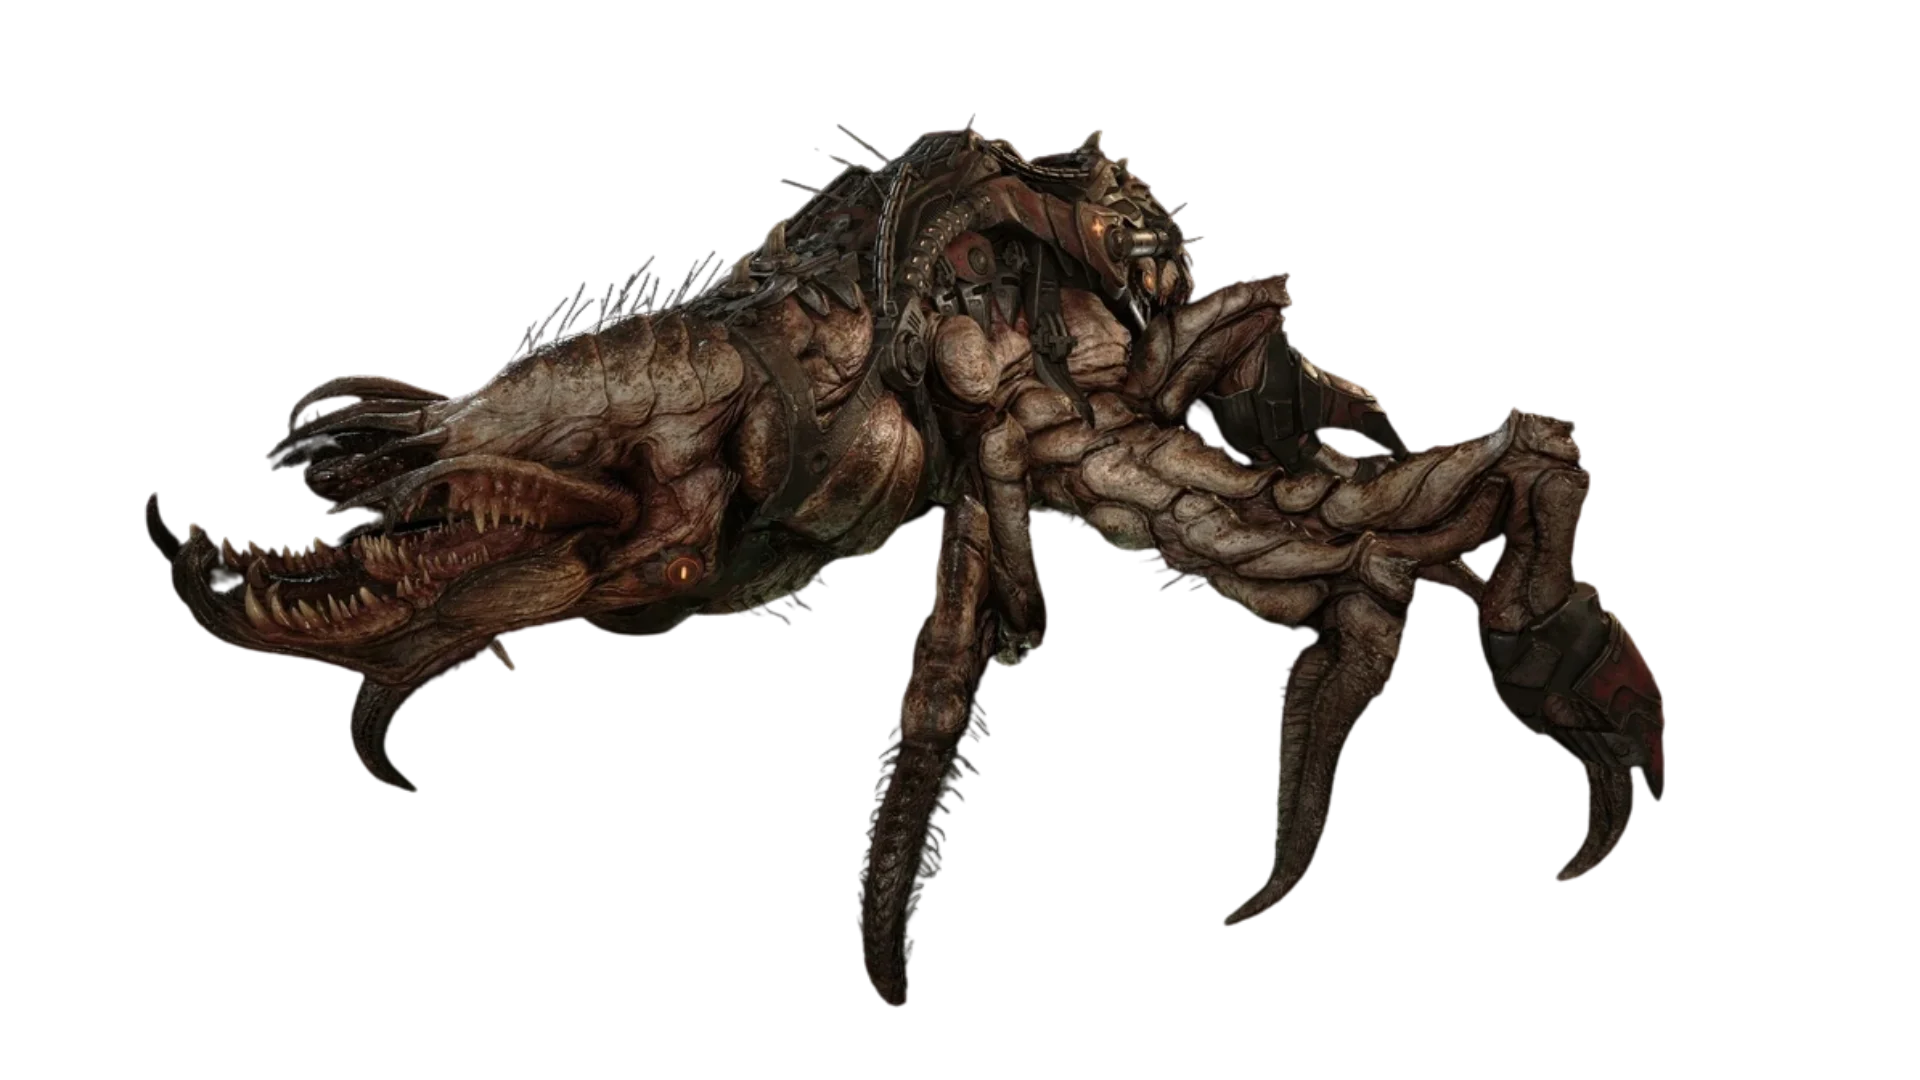
How to Defeat Seeders
Pushing close to a Seeder disrupts its artillery barrages. Frag Grenades are exceptionally effective at knocking them over.
The basic strategy is:
- Close the distance to disrupt artillery output.
- Toss explosives to expose their soft core.
- Unload heavy ordnance into the revealed weak point.
- Retreat when the Seeder recovers its posture.
- Never stand idle beside an active Seeder.
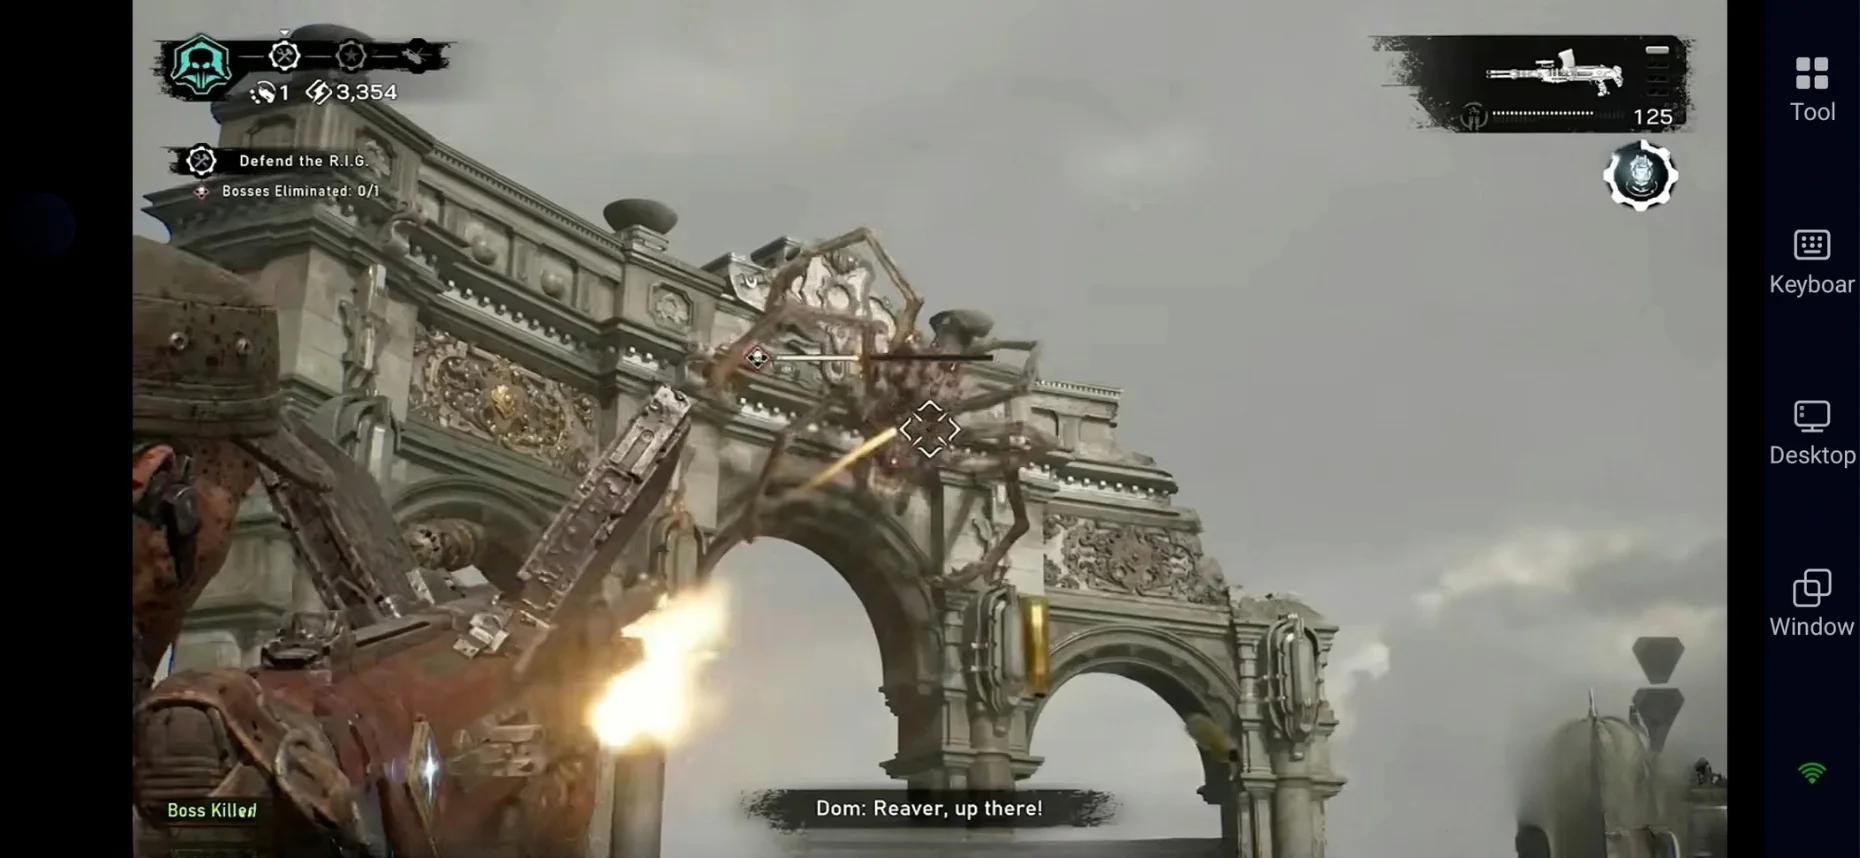
Reavers
Reavers are massive aerial mounts that double as troop transports, deploying extra infantry straight into the combat zone.
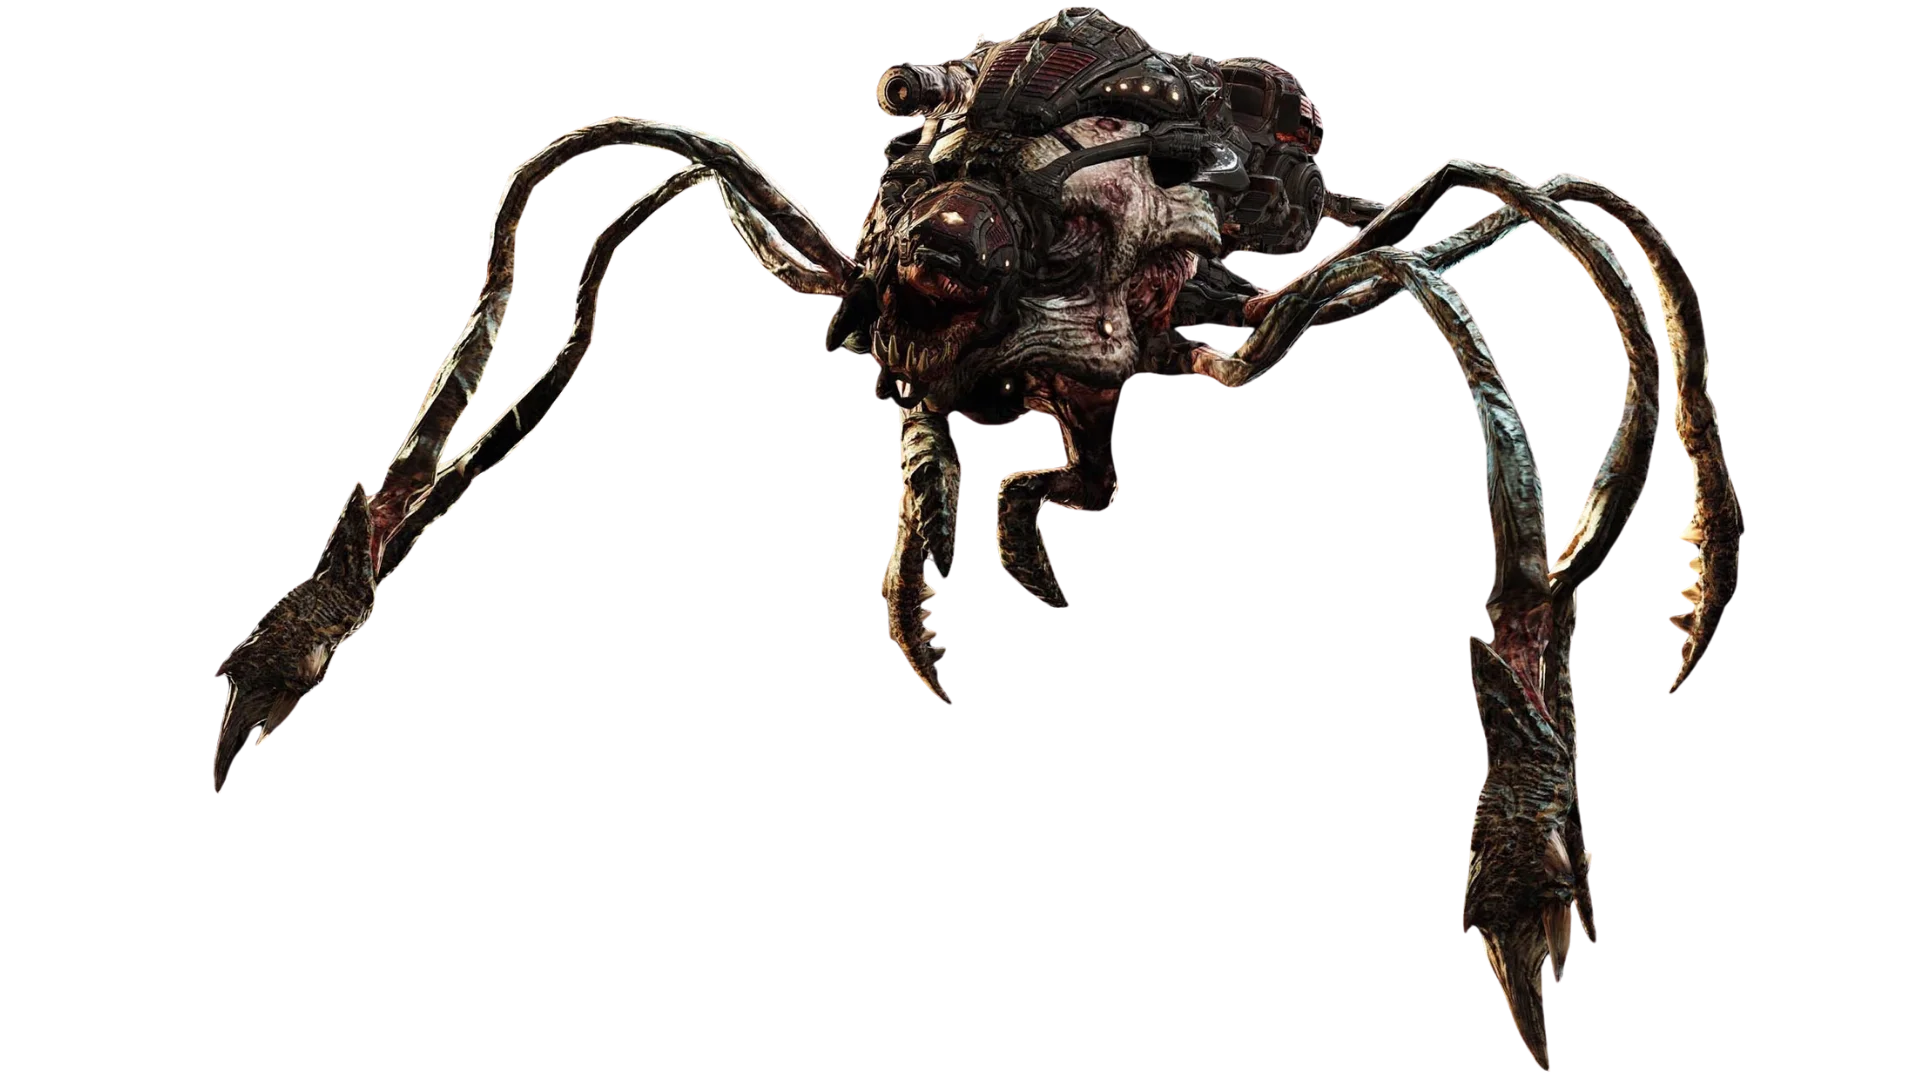
How to Defeat Reavers
Track both the flying beast and the troops it drops. Grounding the Reaver quickly prevents the arena from becoming overrun.
Keep these points in mind:
- Scan the skies for dive-bombing attacks.
- Keep track of deployed enemy infantry.
- Prioritize the Reaver when threat levels spike.
- Unload heavy weapons once it lands or stumbles.
- Prevent dropped Drones from pincering your squad.
Scorched Legion
The Scorched Legion serves Vraahk directly. These units boast increased aggression and durability compared to standard infantry.
Treat them as primary targets in late-game skirmishes to prevent them from breaking your lines.
How to Fight Scorched Legion Enemies:
- Keep your distance using ranged suppression.
- Concentrate squad fire on individual targets.
- Stop them from closing melee distance.
- Utilize solid cover to minimize incoming burn damage.
- In co-op, use crossfire positions to break their guard.
Special Enemies
Special enemies feature unique mechanics that disrupt standard combat loops and create chaotic hazards.
Bilefrogs
Bilefrogs launch caustic acid attacks. Their glowing mouths serve as their primary structural weak point.
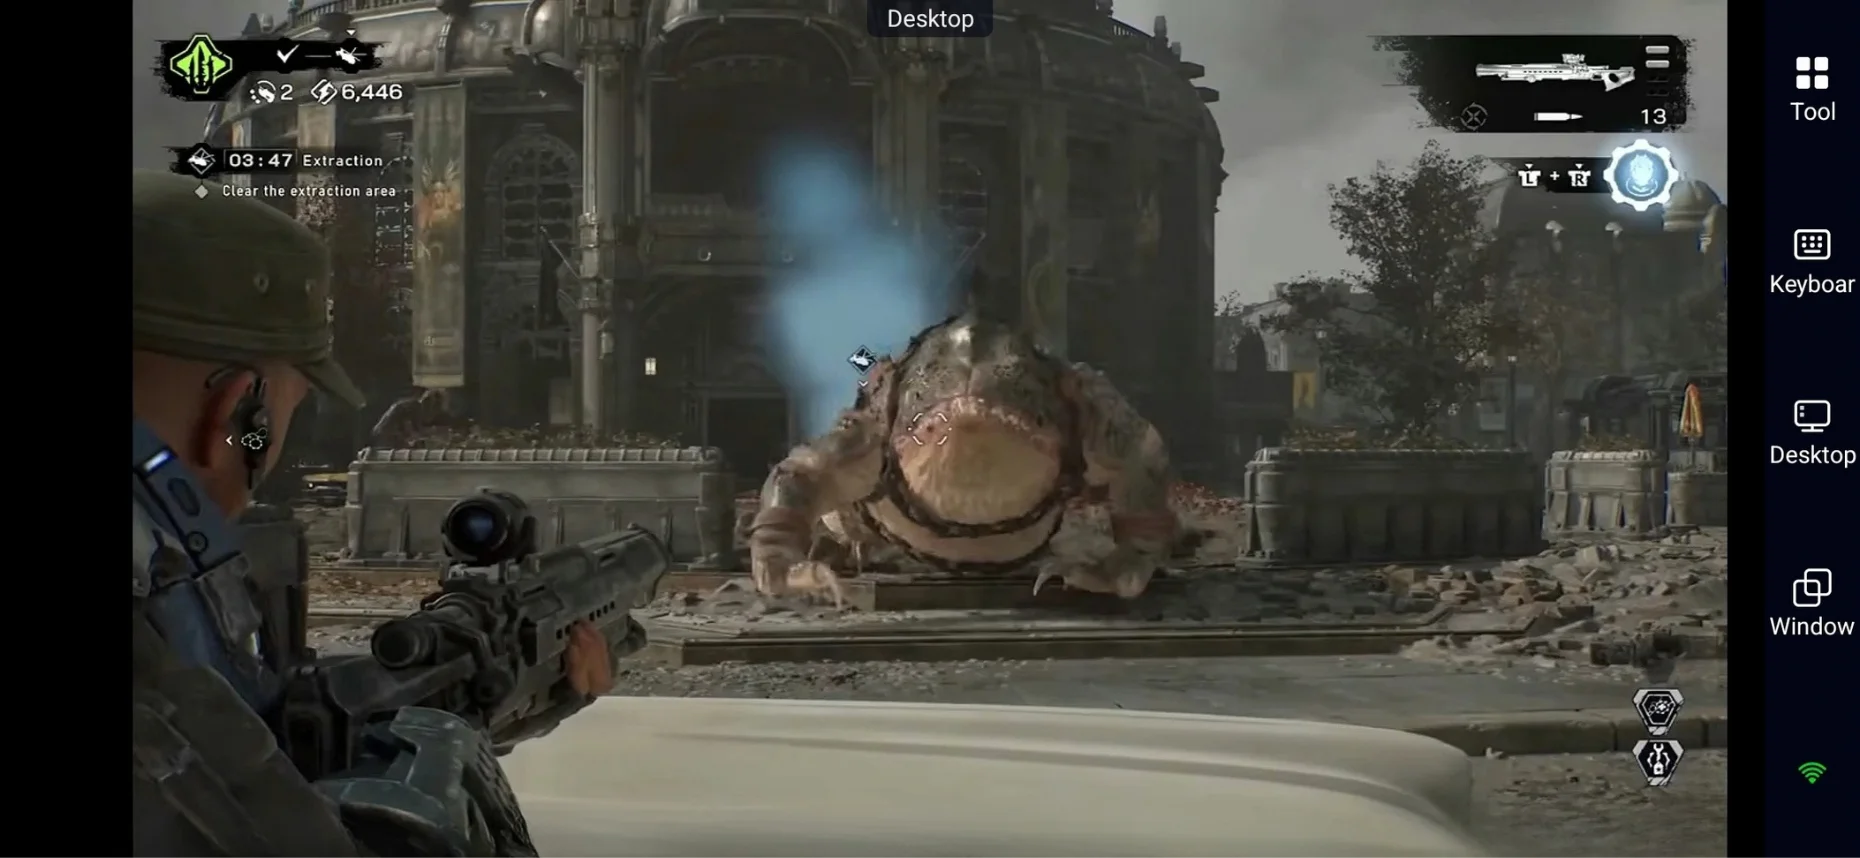
How to deal with Bilefrogs:
- Aim straight for the glowing mouth.
- Strafe away from acid spray paths.
- Use Gut-Puncher maneuvers when available.
- Keep mobile during crowded skirmishes.
Spore Matron
The Spore Matron is an airborne menace that spawns homing spores designed to hunt down players.
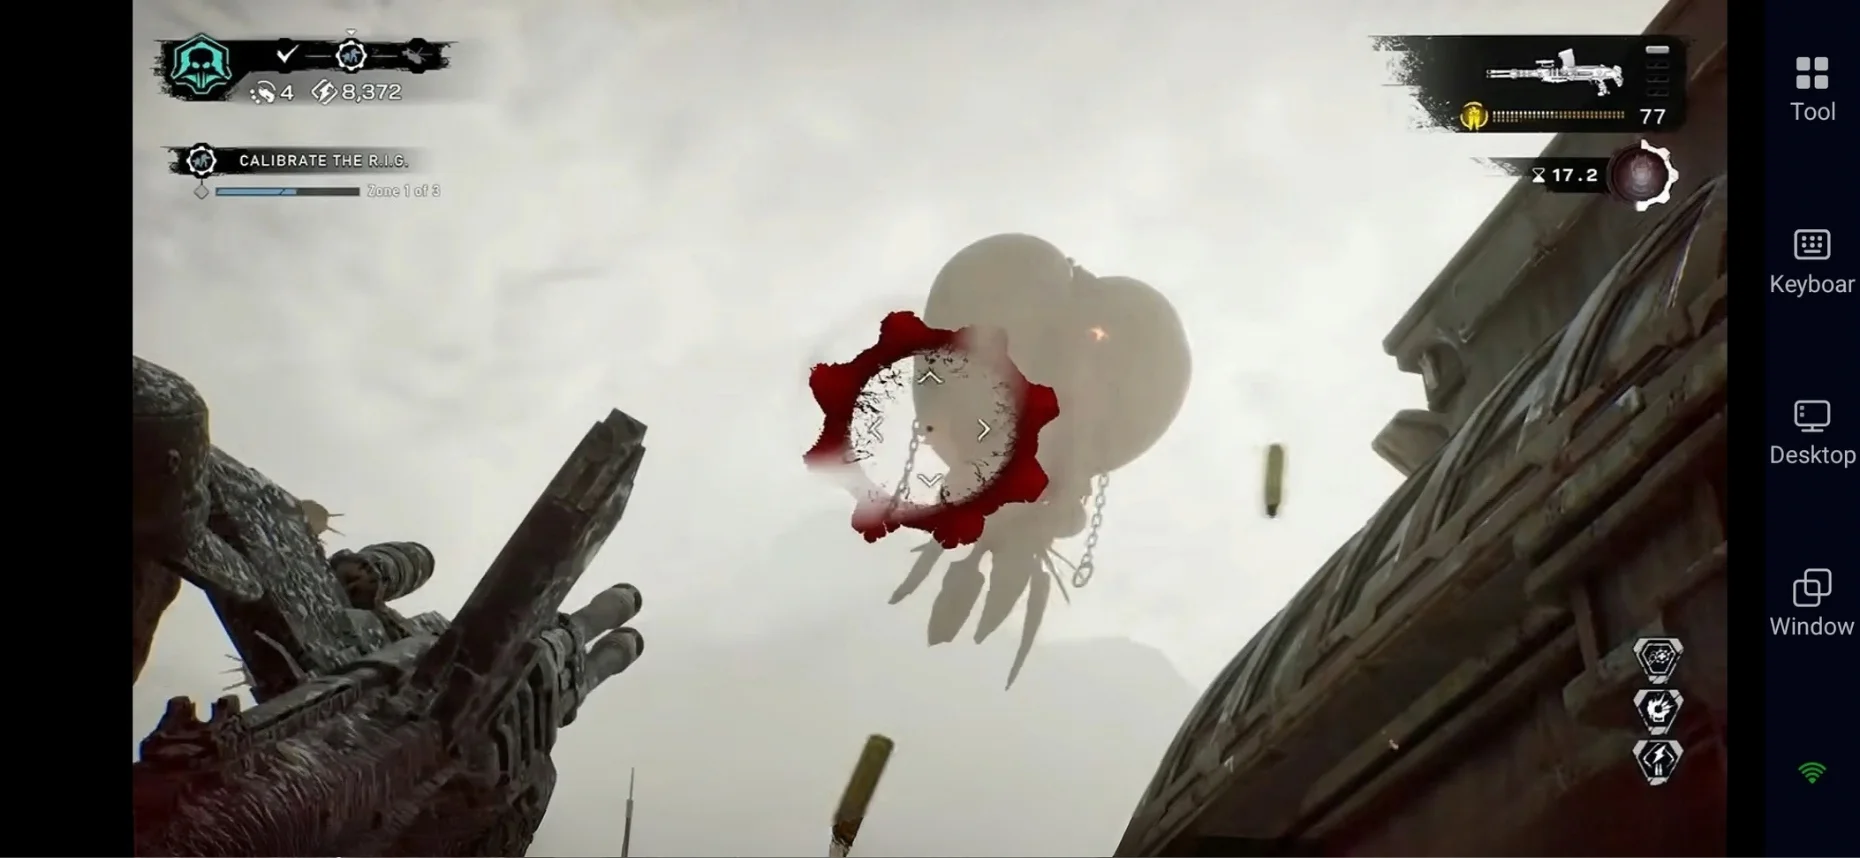
How to deal with the Spore Matron:
- Keep the Matron visible at all times.
- Shoot down tracking spores mid-air.
- Stay on the move while engaging.
- Do not let spore clouds box you in.
- Balance your attention between the Matron and ground troops.
Tickers
Tickers are fast-moving explosive charges that detonate upon contact. They spell disaster if ignored during boss fights.
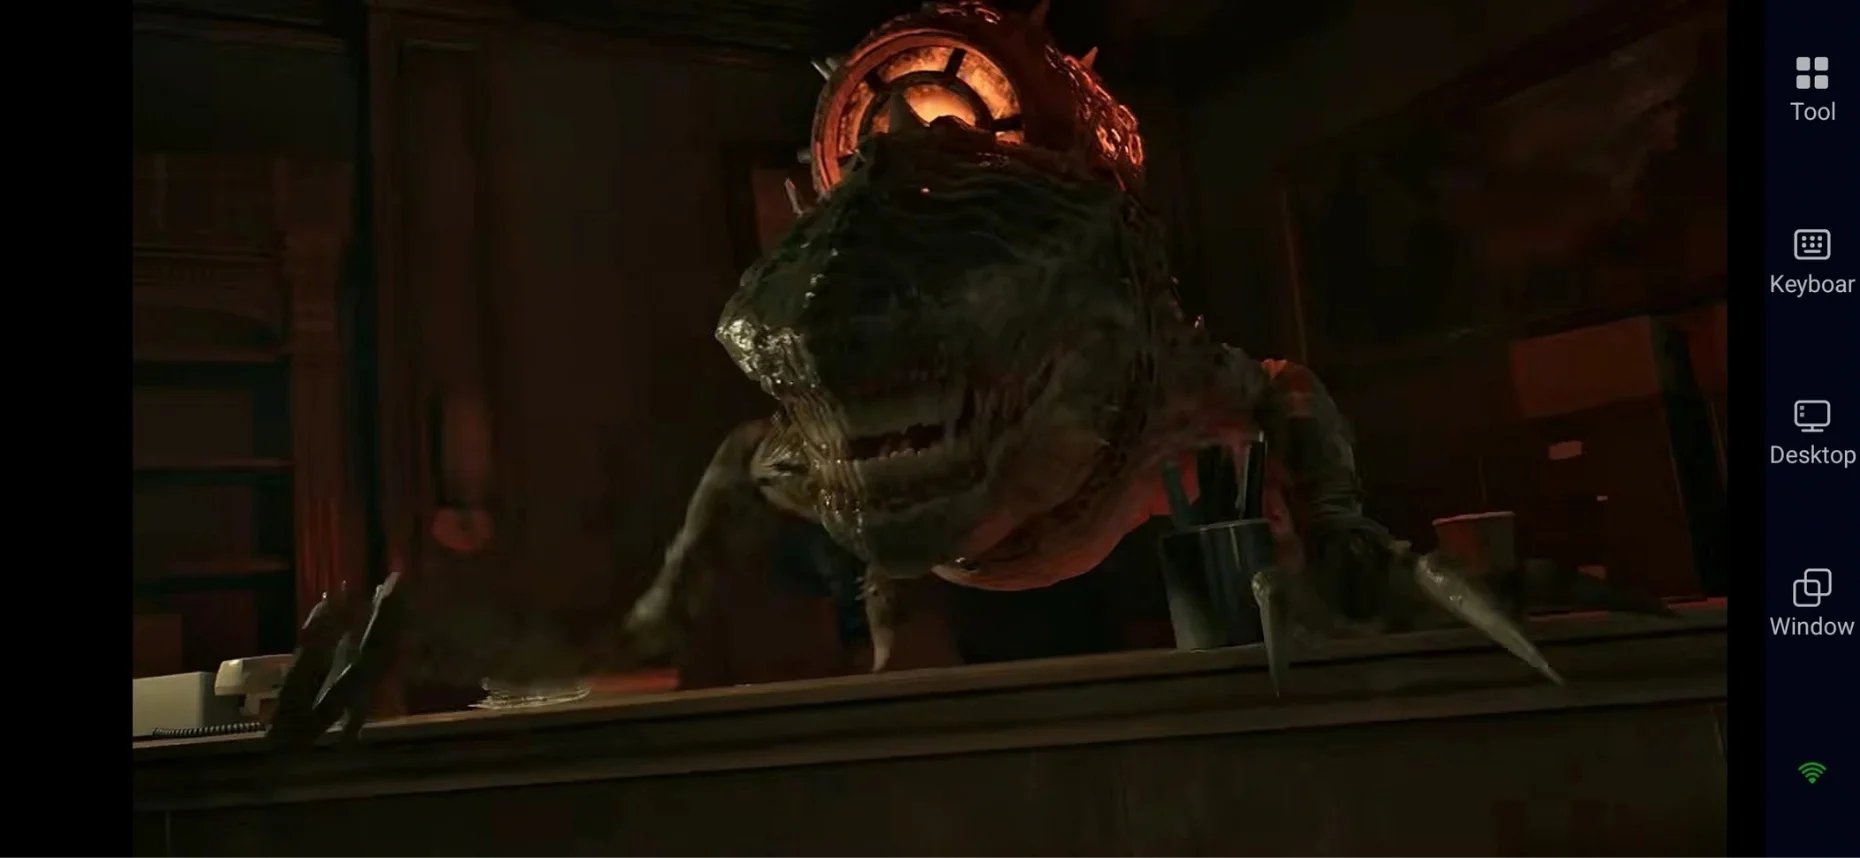
How to deal with Tickers:
- Kick them away with melee attacks when they lunge.
- Explode them safely from a distance.
- Listen carefully for their mechanical scuttling audio cues.
- Clear Tickers to keep retreat paths open.
Gears of War: E-Day Horde Siege Invasion Bosses
Horde Siege features intense Invasion Events where massive shared bosses drop onto the battlefield, forcing all three participating squads to unite.
Supporting up to 12 players across three squads, Invasion Events introduce global battlefield modifiers and massive Locust reinforcements.
Horde Siege Invasion Bosses
Confirmed Invasion Event bosses include:
- Corpser
- Brumak
Corpser Invasion Boss
The Corpser turns the match into a claustrophobic survival trial. Its enormous limbs deny safe zones across the arena.
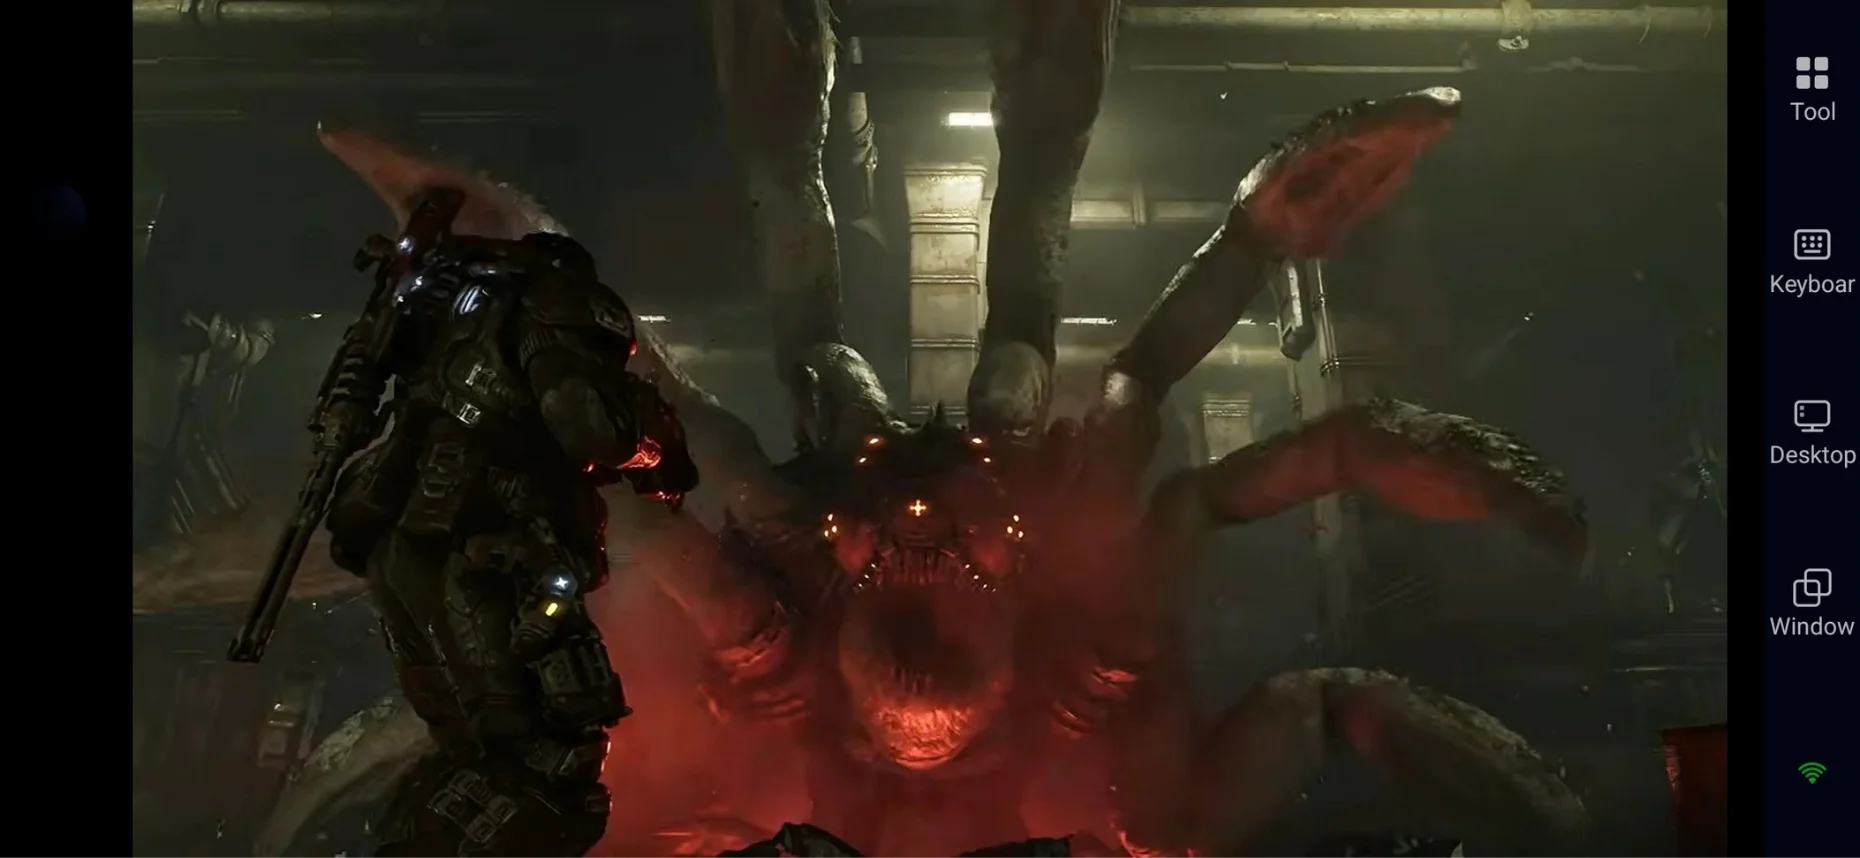
What to watch for:
- Crushing close-range melee strikes.
- Area-denial ground pounds.
- Supporting Locust infantry squads.
- Sudden blockages of movement routes.
- Adjacent squads buckling under pressure.
Brumak Invasion Boss
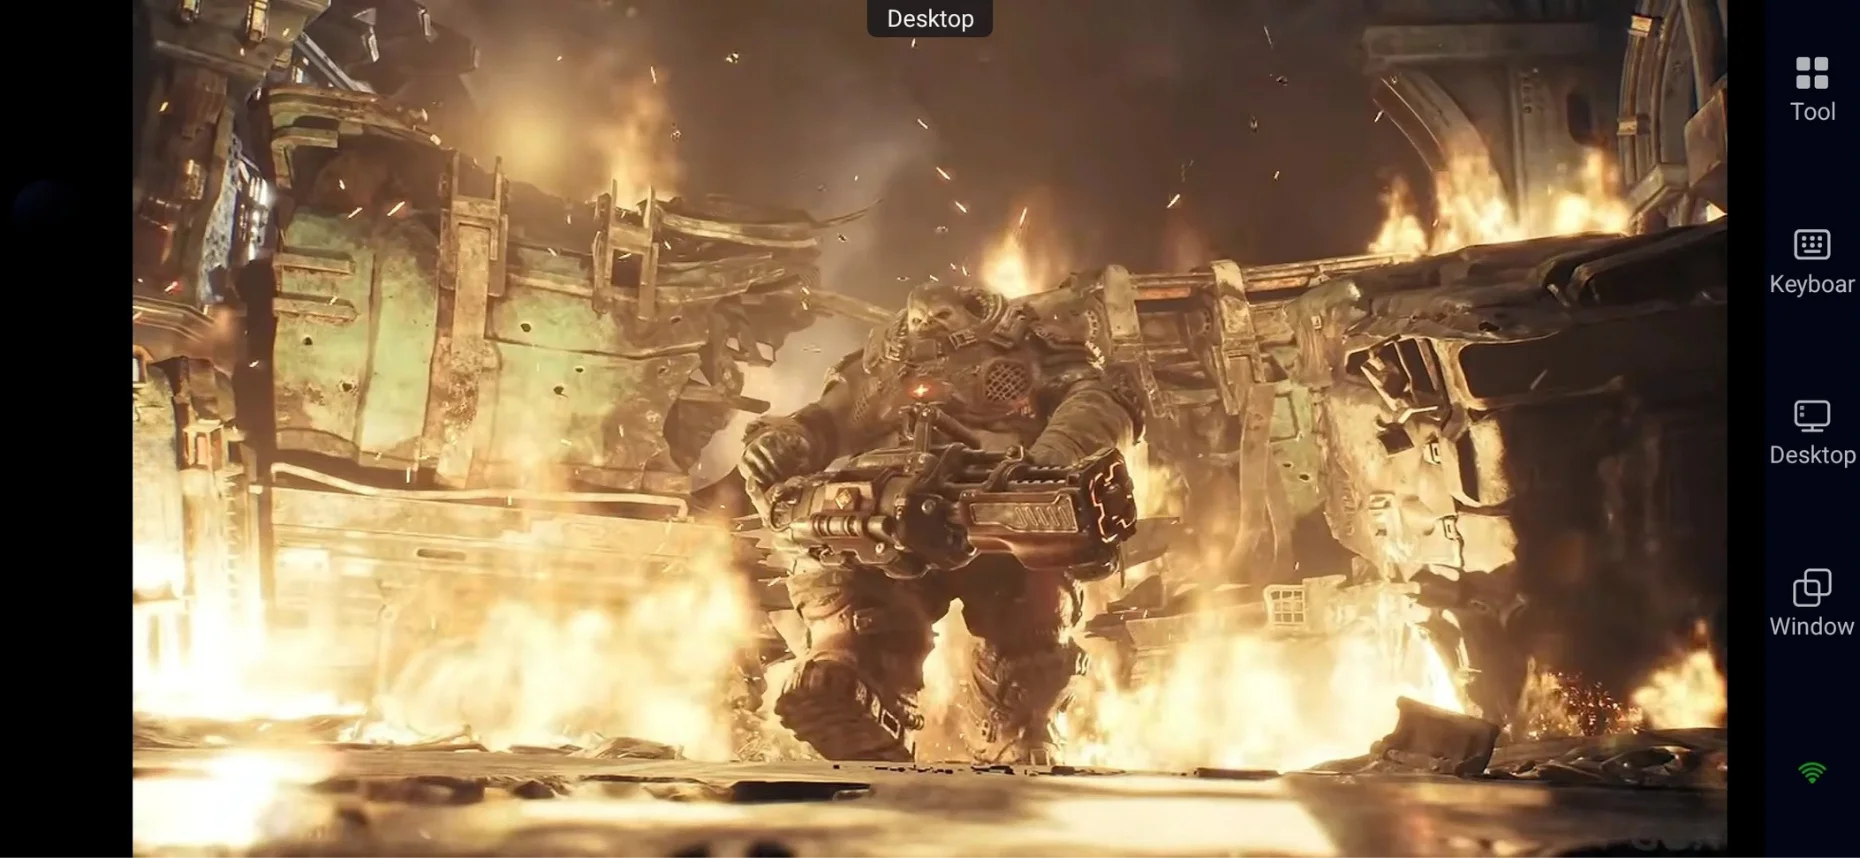
The Brumak wields devastating ranged firepower that wrecks open fields and forces constant squad repositioning.
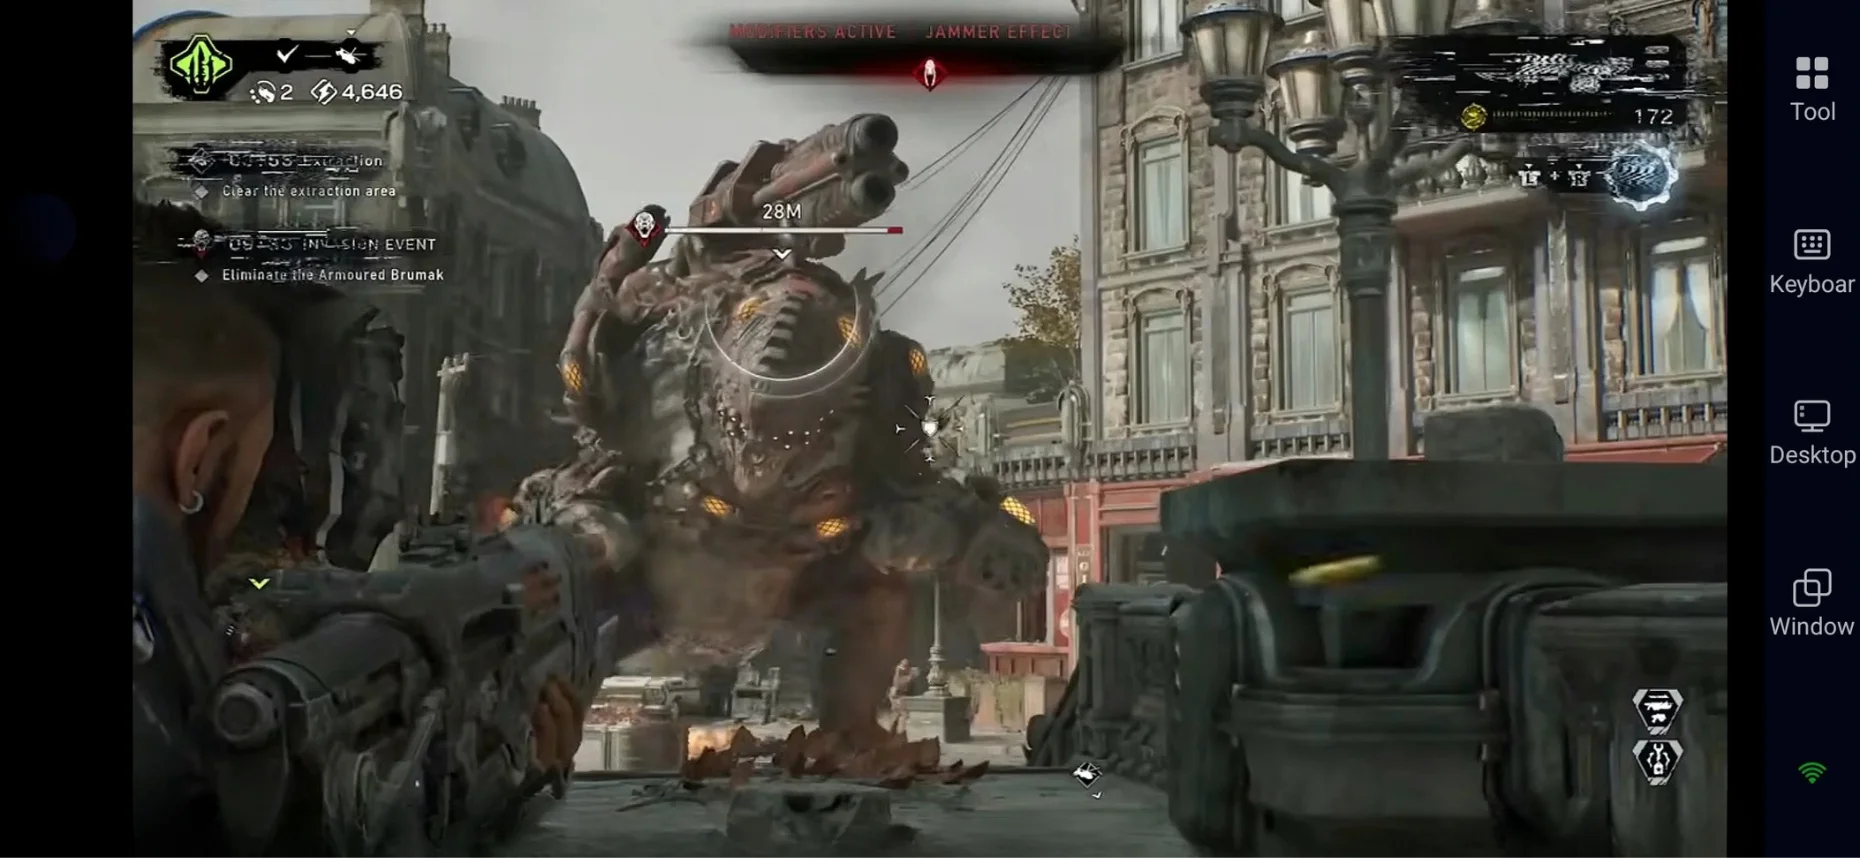
What to watch for:
- Heavy chain-gun and rocket barrages.
- Stomping close-quarters shockwaves.
- Total destruction of player cover.
- Accompanying Locust wave units.
- Team members requiring urgent revives.
Why Invasion Events Are Different
Invasion Events require 12 players to coordinate cross-squad fire, manage grunts, and keep the battlefield under control until the boss falls.
How to Handle Horde Siege Bosses
Managing chaos is key to surviving Horde boss invasions. Divide responsibilities between crowd control and boss damage dealers.
Control the Surrounding Enemies
Clear minor grunts first so they don’t pin your squad down while dodging boss attacks.
Keep Escape Routes Open
Never box your team into a corner. Relocate early when boss attacks compromise your current cover.
Coordinate Between Squads
Communicate tactical updates across squads:
- When your squad is overwhelmed.
- Boss movement transitions.
- Vulnerability windows.
- Requests for fire support.
- Revive calls.
Focus the Boss During Damage Windows
Save heavy ammunition for stagger states and exposed weak point windows.
Spread Out When Necessary
Maintain tactical spacing so area-of-effect attacks don’t wipe your entire squad at once.
Revive Teammates Quickly
Pick up downed allies immediately if the immediate zone is clear of active threats.
Help Overwhelmed Squads
Send backup players to relieve neighboring squads when their defensive lines collapse.
Keep Moving
Maintain purposeful momentum between safe cover points throughout the entire invasion.
Conclusion
Understanding every enemy type in Gears of War: E-Day turns impossible fights into manageable tactical victories. Master your weapon loadouts, target weak points, control the battlefield, and conquer the Locust invasion!
[image_alt]Gears of War E-Day strategy guide featuring Locust boss and special enemy tactics[/image_alt]
[tags]Gears of War E Day, Boss Guide, Locust Enemies, Horde Siege, Xbox Strategy Guide, Third Person Shooter, Gaming Walkthrough[/tags]