













Mastering Combat and Exploration in Castlevania: Belmont’s Curse
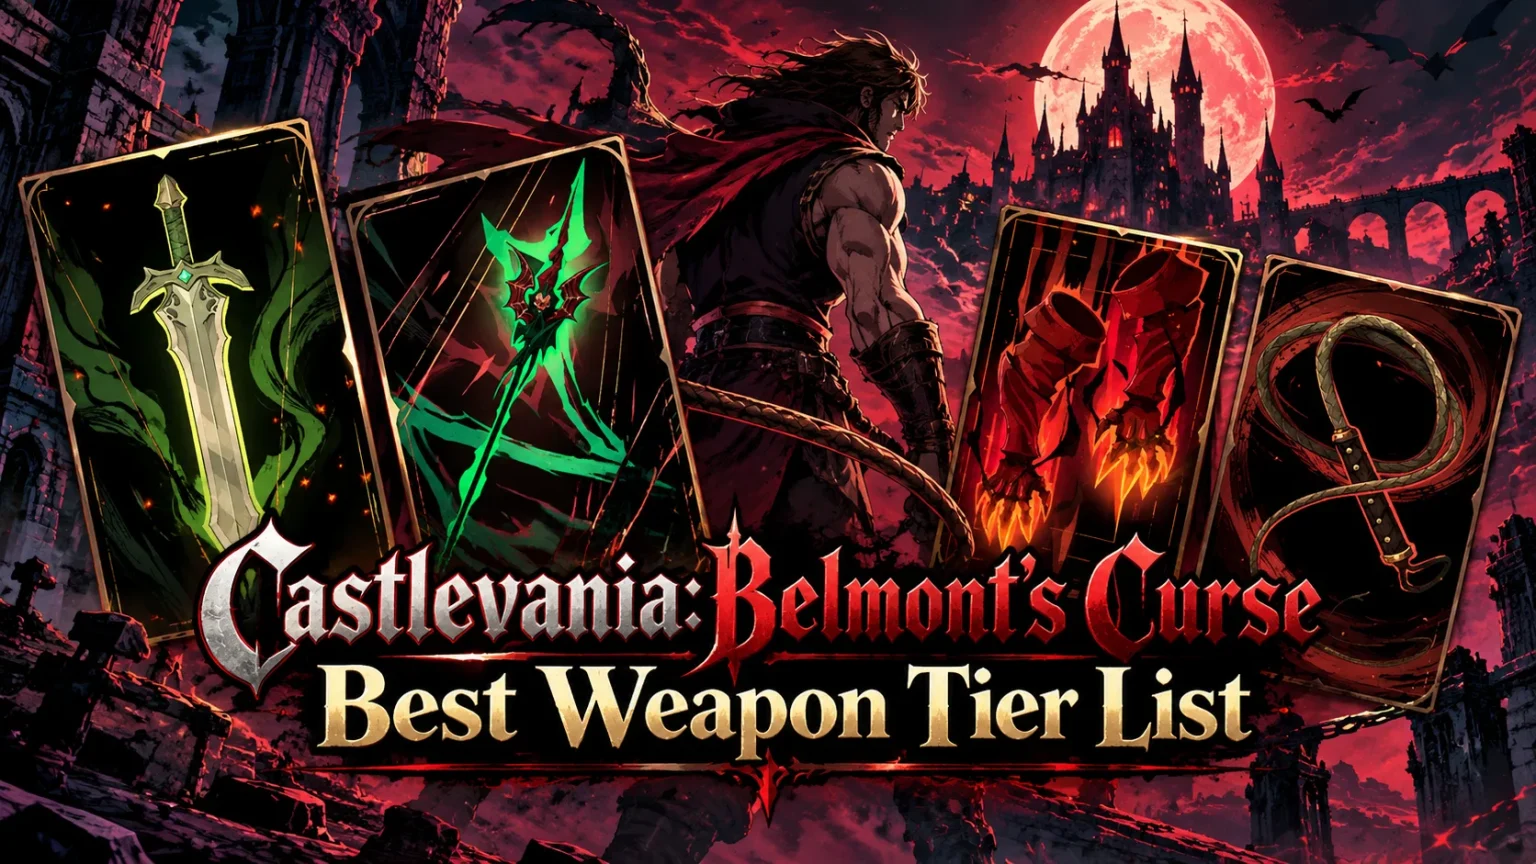
The sheer variety of weapons in Castlevania: Belmont’s Curse can leave even veteran hunters second-guessing which options are worth using. Choosing the right loadout makes a real difference when facing tougher enemies or navigating tricky platforming sections.
This ultimate strategy guide breaks down the strongest options to help you find the weapons that suit your playstyle. Maximize their unique strengths to conquer every dark corner of the castle!
Castlevania: Belmont’s Curse Weapon Tier List Overview
The best weapon in Castlevania: Belmont’s Curse depends on more than raw damage alone. Range, attack speed, defensive utility, and overall versatility affect every weapon’s true value.
Consider the tier breakdown before selecting your main arsenal:

Unleashes Massive Performance: GIGABYTE Motherboards Dominate Intel 13th Gen Gaming Setups
Welcome back to the workbench here at The Philly PI, where we…

Former Halo Creative Director Urges Activision to Hire former Halo Studios Staff
Former Halo franchise development director Frank O’Connor is urging Activision to hire…

How to Unlock Peak Performance and Overclock Your Samsung Galaxy S22 Today
In the fast-paced ecosystem of mobile computing, squeezing every ounce of performance…

ABOARD THE USS GEORGE WASHINGTON: Inside the High-Tempo Naval Operation Enforcing the Strait of Hormuz Blockade
STRAIT OF HORMUZ — Stationed at the mouth of the Strait of…

Dr. Joyce Demands Major Crackdown on Foreign Robocalls Targeting Americans
WASHINGTON — In an era defined by constant connectivity, millions of Americans…

Germany Receives First F-35A as NATO Airpower Grows Amid Rising Threats from Russia
Germany has received its first F-35A stealth fighter from Lockheed Martin as…
- S Tier: The strongest overall options, offering exceptional effectiveness or utility across a wide range of situations.
- A Tier: Powerful weapons that require more precise timing, positioning, or a specific approach to reach full potential.
- B Tier: Viable choices, though their overall versatility or combat effectiveness remains situational.
PRO-TIP: Experiment with weapon combinations, Arcana abilities, and relic setups to handle tough encounters without losing momentum!
Comprehensive Weapon Tier List
| Tier | Weapon category | Main strength |
|---|---|---|
| S | Whip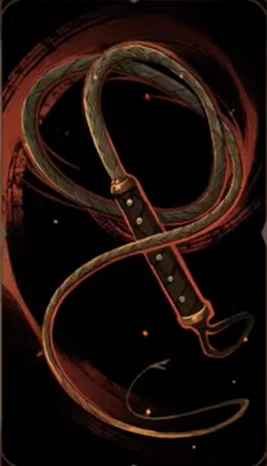 |
Long reach, tip-strike damage, and traversal |
| S | Cestus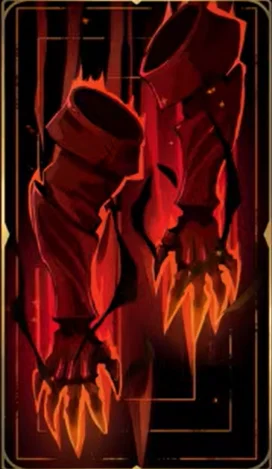 |
Consecutive-hit damage and close-range pressure |
| A | Spear / Lance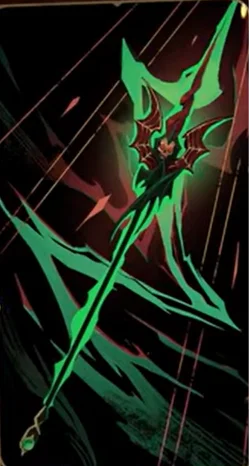 |
Reach, spacing, and thrown attacks |
| A | Great Sword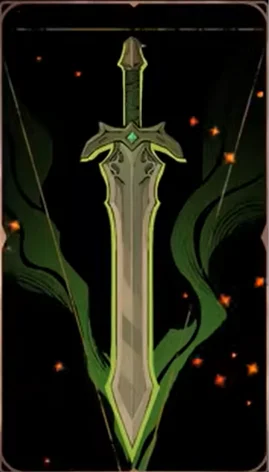 |
Heavy hits and wide attacks |
| B | Longsword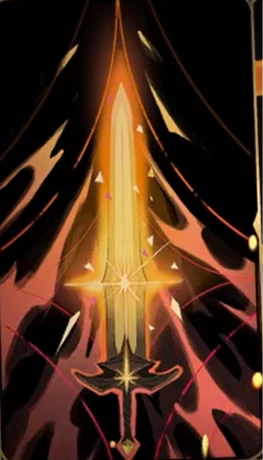 |
Balanced combat and mobility |
| B | Sword and Shield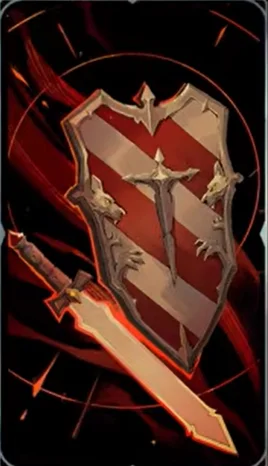 |
Defensive options and counterattacks |
| B | Dual Swords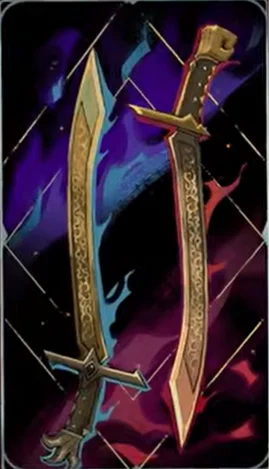 |
Fast attacks and timed combos |
Castlevania: Belmont’s Curse Weapon Rankings and Analysis
Individual weapon variants, upgrade levels, and personal playstyle heavily influence performance. Let’s take a closer look at each weapon’s strengths and weaknesses.
1. Whip — S Tier
- Best for: General exploration, safe melee combat, and airborne enemies.
- Advantages: Long attack range, powerful tip strikes, and versatile grappling attacks.
- Weaknesses: Requires proper spacing and accurate tip strikes to maximize damage output.
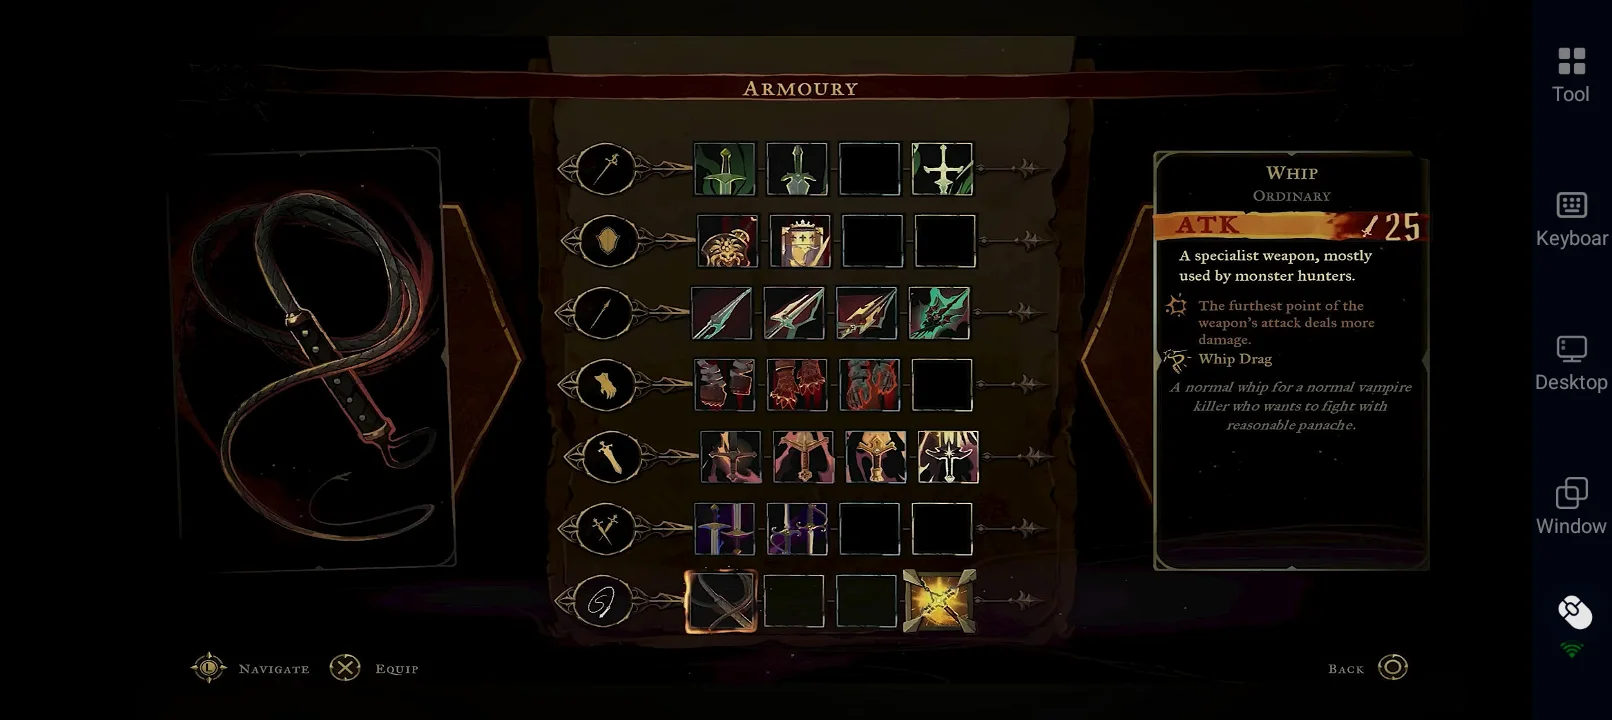
The Whip stands out as one of the most versatile weapon categories in the game. Its long reach lets Rose attack enemies from a safe distance.
Diagonal combo aims help deal with airborne targets effortlessly. Grappling moves make it exceptionally useful for both traversal and combat follow-ups.
2. Cestus / Fists — S Tier
- Best for: Aggressive close-range combat, 1v1 fights, and boss damage windows.
- Advantages: Consecutive hits scale damage, alongside charged attacks and aerial follow-ups.
- Weaknesses: Short range makes handling groups or punishing opponents much harder.
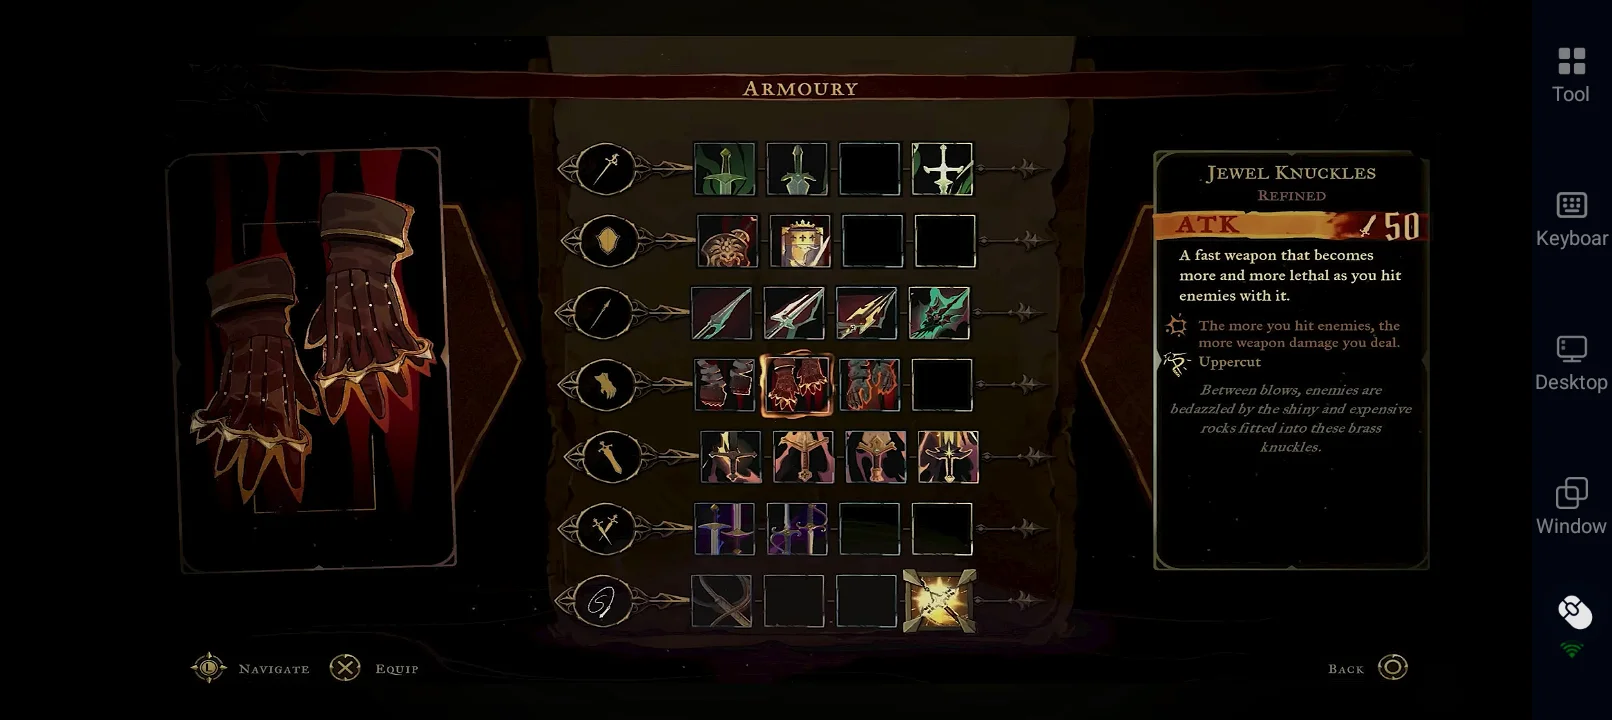
The Cestus rewards players who stay close to their targets. Damage increases with uninterrupted consecutive hits, shredding bosses.
Charged attacks stun enemies for extended offensive pressure. Grappling launches Rose and targets into the air for devastating aerial combos.
3. Spear / Lance — A Tier
- Best for: Keeping enemies at a distance and hitting flying targets.
- Advantages: Long reach and charged projectile throws offer flexible pressure options.
- Weaknesses: Combo gaps leave Rose vulnerable to sudden interruptions.
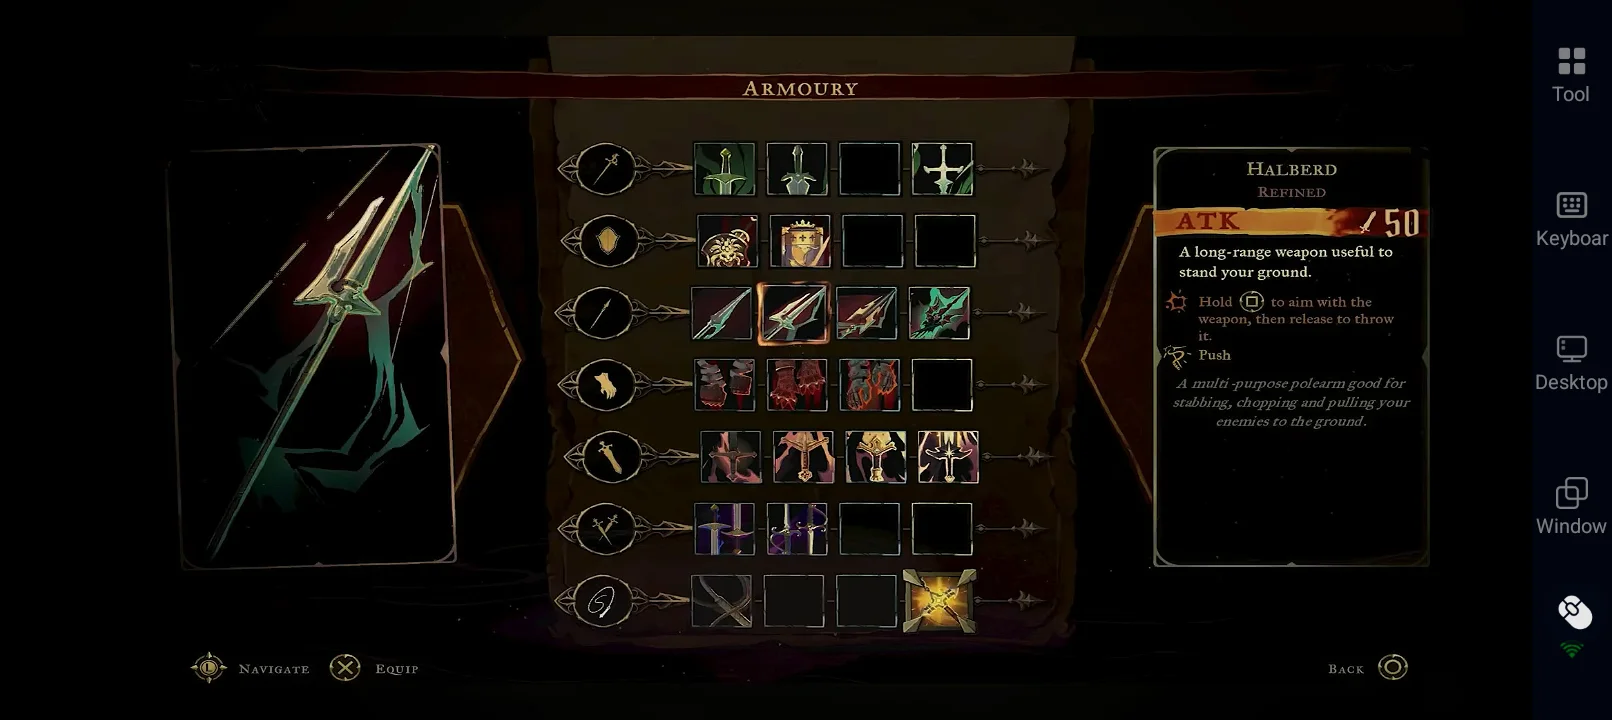
The Spear offers a strong balance between reach and direct damage. Charged throws add reliable ranged options against flying enemies.
Manage your spacing carefully to bypass combo gaps. This weapon excels when keeping safe distance matters more than close-range DPS.
4. Greatsword — A Tier
- Best for: Large groups, heavy burst damage, and punishing clear openings.
- Advantages: Wide-sweeping attacks and charged armor strikes prevent interruption.
- Weaknesses: Slow attack speed demands precise positioning and timing.
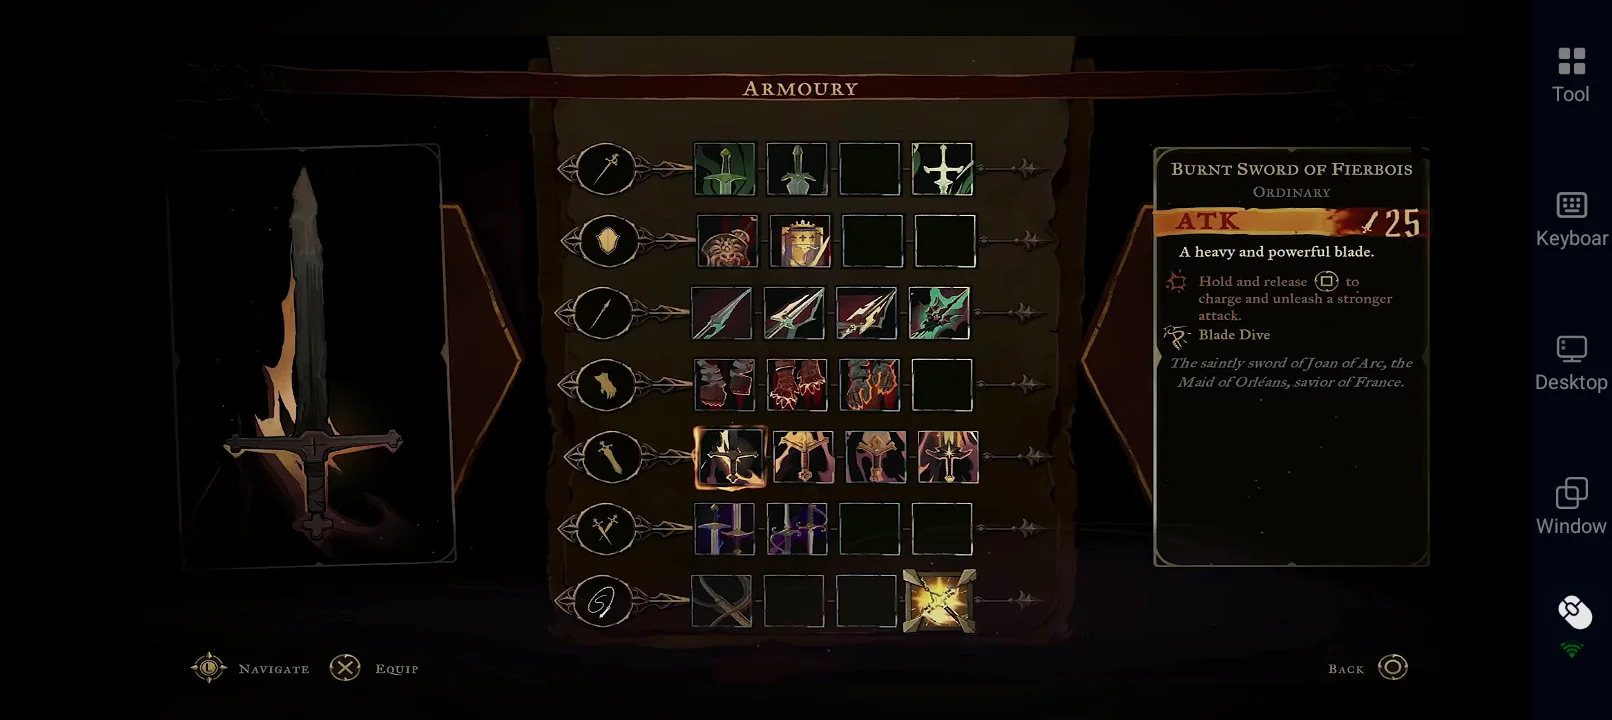
The Greatsword trades raw speed for massive impact across wide areas. Charged strikes grant armor to protect against enemy attacks.
Aerial grappling covers a full 360-degree radius when surrounded. Look for clear openings to catch multiple enemies in a single swing.
5. Long Sword — B Tier
- Best for: General combat, early-game progression, and balanced movesets.
- Advantages: Straightforward 3-hit combo, stun chance on final hits, and dash-through attacks.
- Weaknesses: Lacks specialization in range, heavy damage, or defense.
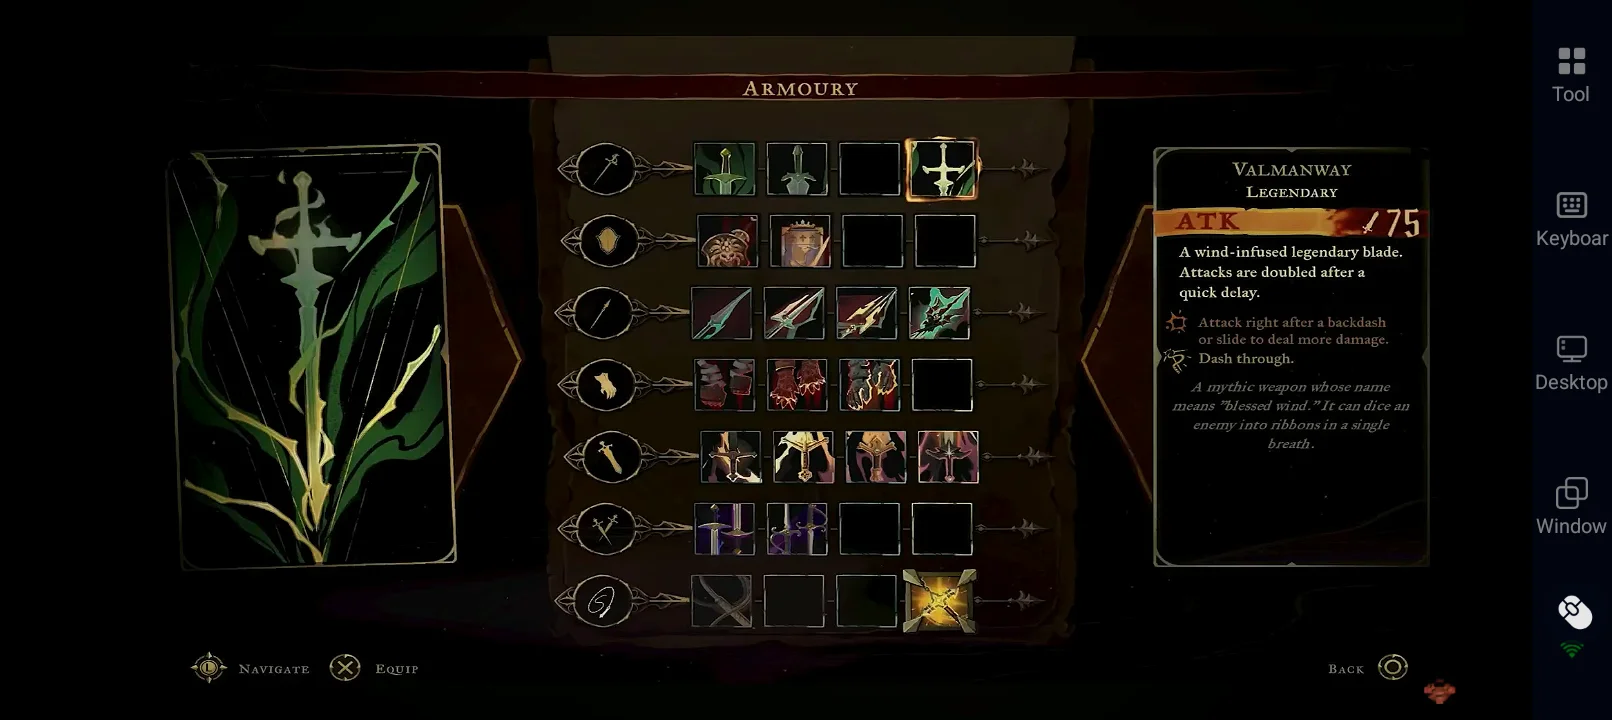
The Long Sword provides a reliable, balanced option for standard progression. Its grappling attack passes through targets to position Rose behind them.
Dash attacks after dodging add great mobility. It is a solid general-purpose tool while learning enemy patterns.
6. Sword and Shield — B Tier
- Best for: Defensive playstyles, blocking mechanics, and counterattacks.
- Advantages: Features active blocking, counterattacks, and a charged shield bash.
- Weaknesses: Blocking only mitigates damage rather than negating it entirely.
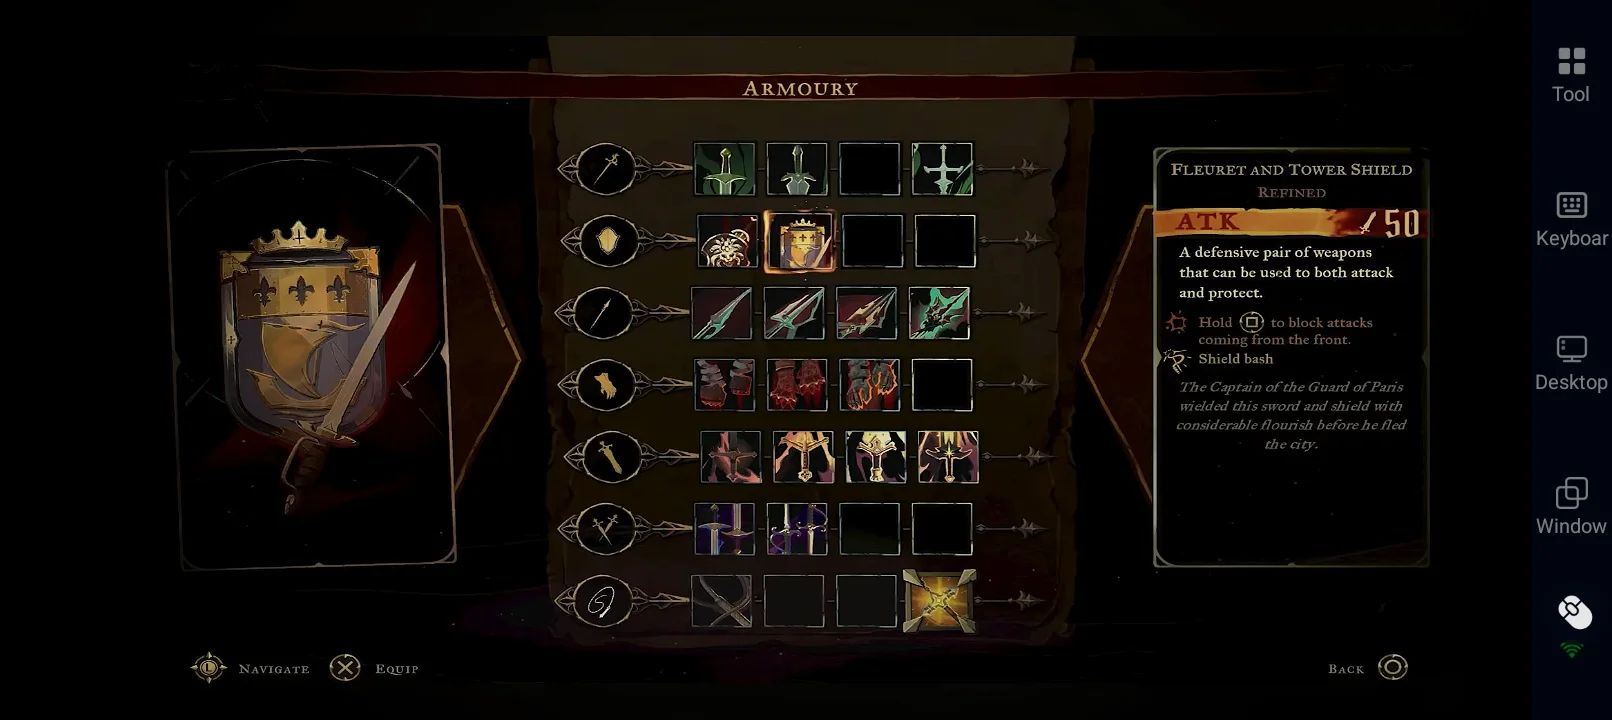
The Sword and Shield combines melee strikes with unique defensive tools. Releasing a block initiates swift, punishing counterattacks.
Charged shield bashes clash directly with enemy strikes for offensive payoffs. This weapon suits cautious players learning unfamiliar encounters.
7. Dual Swords — B Tier
- Best for: Fast offensive play and short boss recovery windows.
- Advantages: Timed inputs unlock rapid stabs and spinning attacks with high damage potential.
- Weaknesses: Highly demanding timing leaves Rose vulnerable if interrupted.
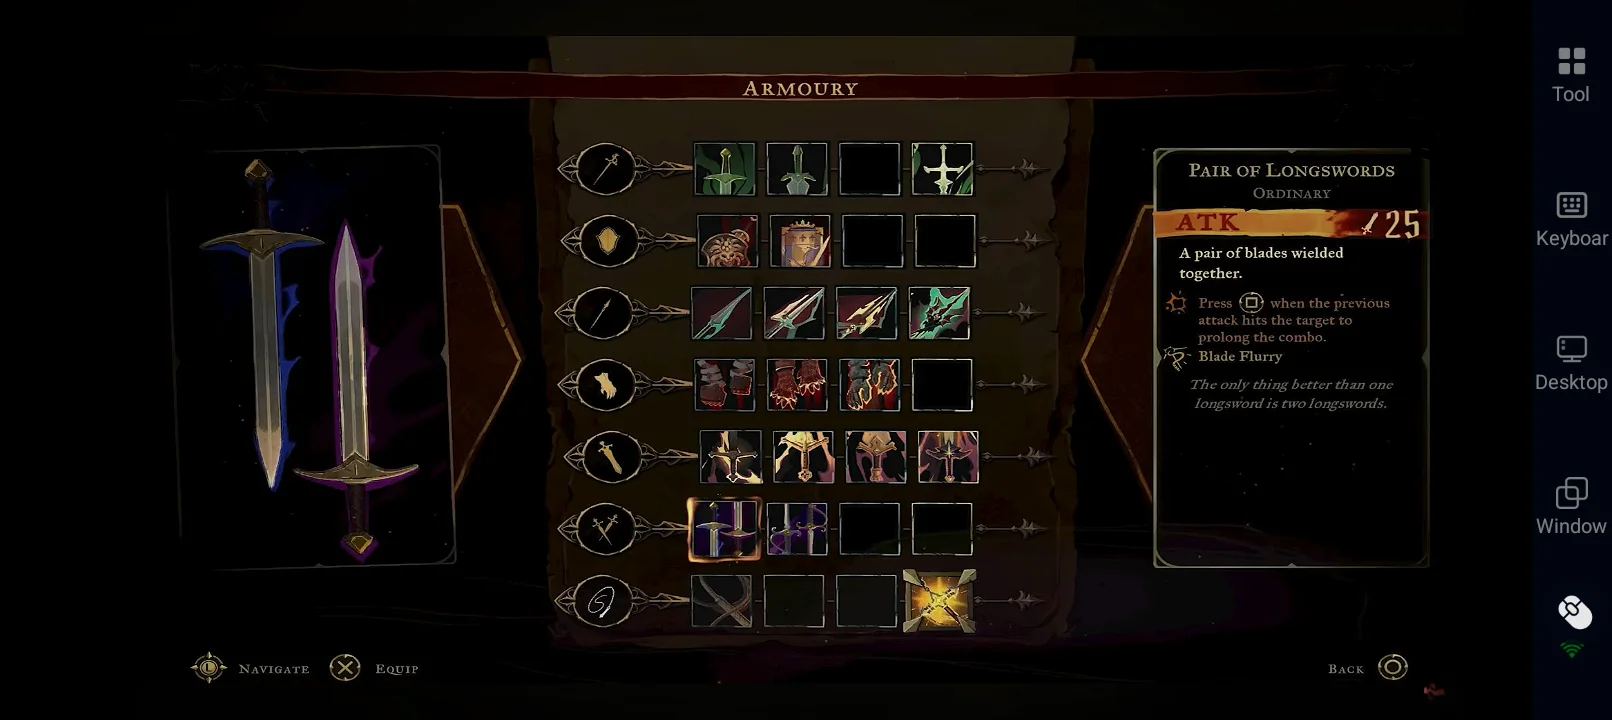
Dual Swords reward rhythm over button mashing. Visual prompt inputs unlock rapid multi-hit stabbing and spinning sequences.
They shred bosses during recovery periods. However, low base attacks and high risk make them less forgiving than other classes.
How the Weapon System Works in Castlevania: Belmont’s Curse
Weapons differ across attack patterns, charged abilities, and combat perks. Mastering categories requires understanding how equipment tiers interact with the game systems.
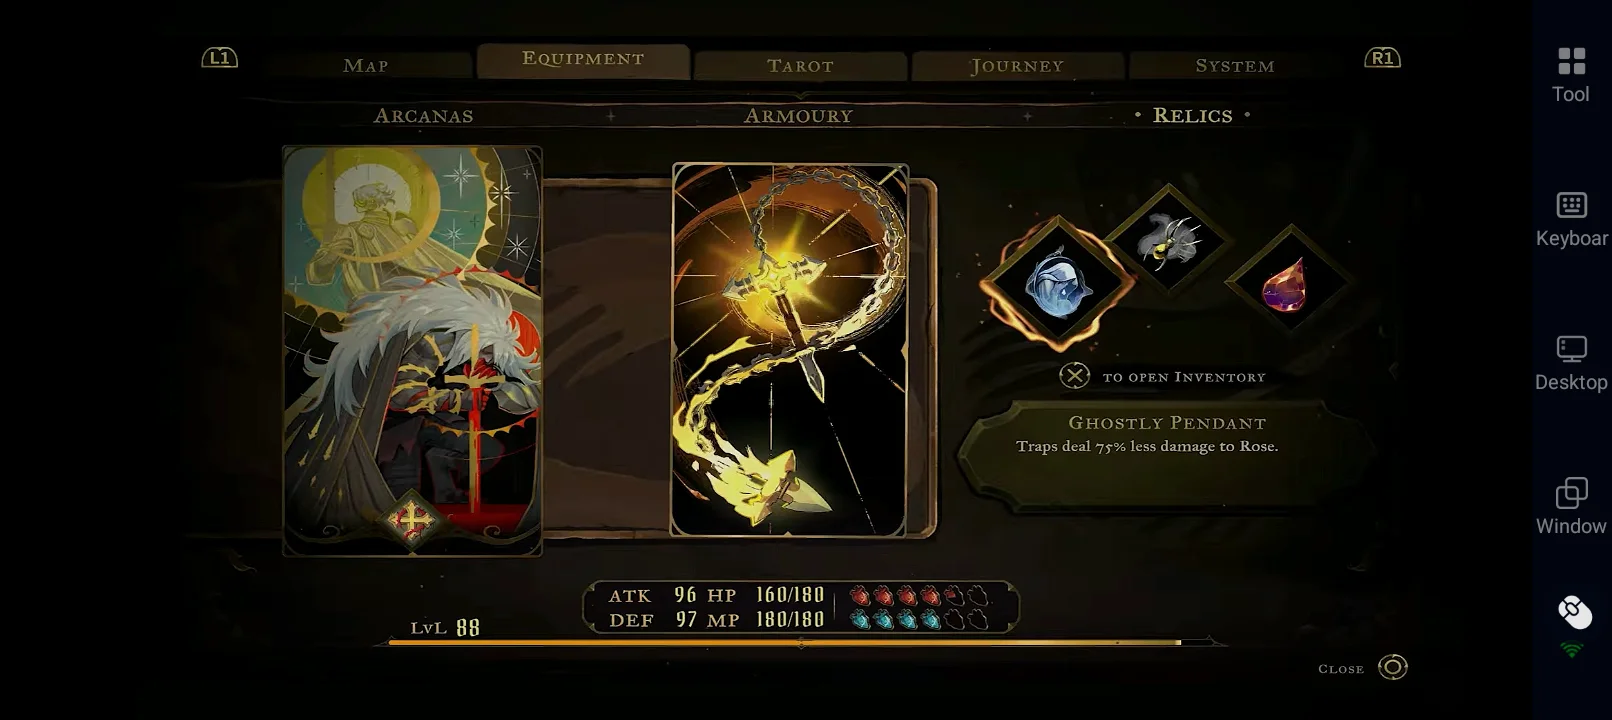
- Weapon Variants & Upgrades: Higher strength levels and variants drastically improve your overall performance.
- Traversal Integration: Whips and tools assist in exploration, grappling points, and aerial mobility.
- Relics: Equip up to three relics to amplify strengths and patch up weaknesses.
- Arcana: Defeated bosses unlock powerful spells and special actions to complement your loadout.
Best Relics for Each Weapon in Castlevania: Belmont’s Curse
Relics alter weapon performance by boosting damage windows, survivability, or resource management. Equip up to three compatible relics to optimize your build.
| Weapon | Recommended Relics | Why They Work |
|---|---|---|
| Whip | Twilight Gem, Raven’s Feather, Witch’s Knot | Twilight Gem boosts spell damage; Raven’s Feather adds aerial DPS; Witch’s Knot maximizes potion healing. |
| Cestus / Fists | Obsidian Fang, Ebony Claw, Witch’s Knot | Obsidian Fang rewards guard breaks; Ebony Claw extends guard-break stuns by 50%. |
| Spear / Lance | Twilight Gem, Sinister Rune, Witch’s Knot | Sinister Rune boosts damage against full-health enemies by 40% for quick poke trades. |
| Great Sword | Obsidian Fang, Forsaken Ring, Witch’s Knot | Forsaken Ring adds 25% damage at full health, pairing great with heavy swings. |
| Long Sword | Vile Trinket, Twilight Gem, Witch’s Knot | Vile Trinket increases back-attack damage by 25%, matching grappling dashes. |
| Sword and Shield | Cursed Coin, Grim Token, Haunting Relic | Cursed Coin and Grim Token grant damage buffs and mana restore upon parrying. |
| Dual Swords | Twilight Gem, Obsidian Fang, Raven’s Feather | Combines spell-weaving damage windows with guard-break scaling. |
Essential Relic Tips for Loadouts
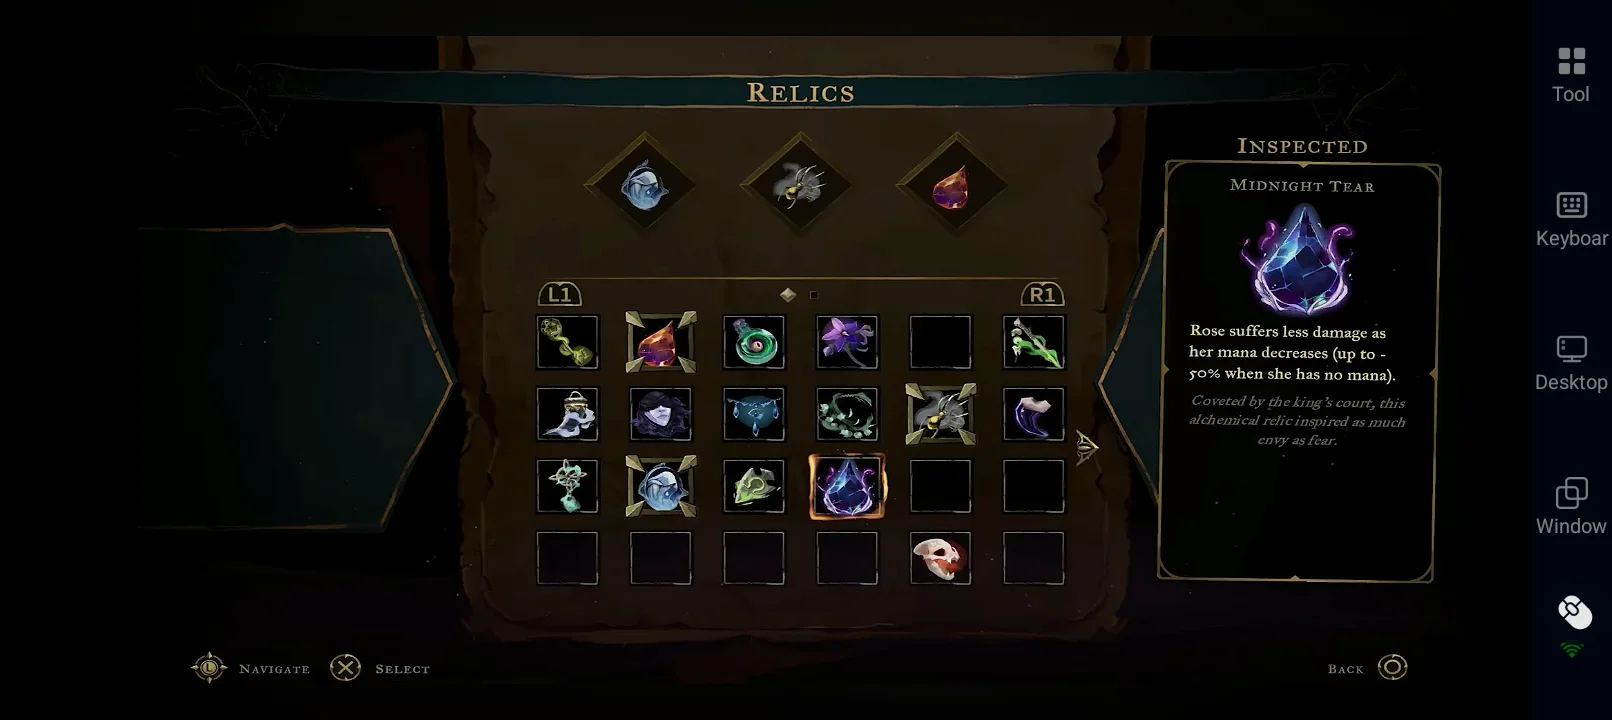
- Consistent Healing: Witch’s Knot ensures every healing potion restores 100% of Rose’s health.
- Spell Integration: Twilight Gem grants a 3-second damage boost following Arcana casts.
- Parry Builds: Pair Cursed Coin with Grim Token for damage and mana recovery on parries.
- Exploration Utility: Swap to Crypt Key before opening chests for full health and mana recovery.
Conclusion
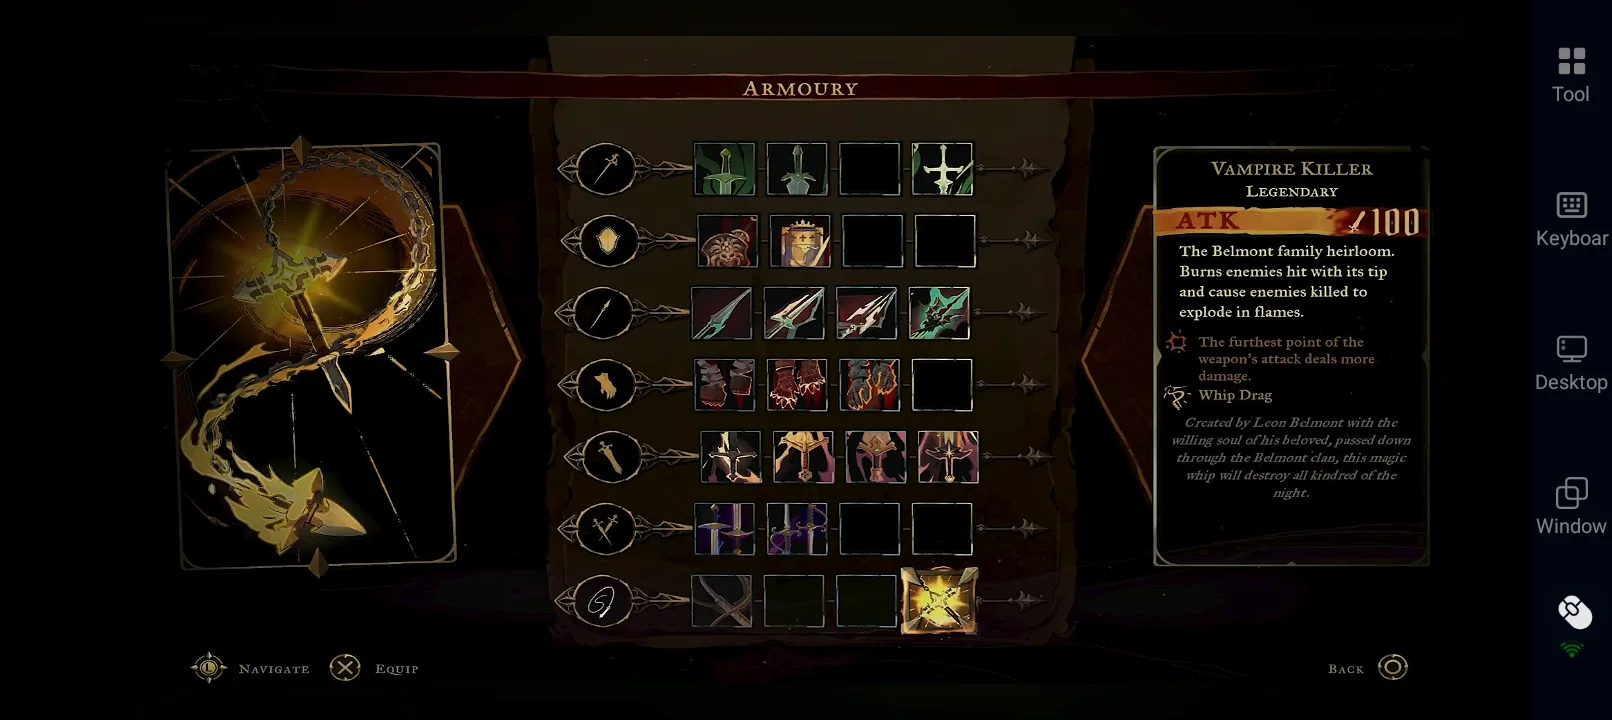
Start your journey with the Longsword, grab the Arcane Whip and Cestus when available, and explore every nook and cranny to upgrade your gear. The fully upgraded Vampire Killer family remains the ultimate choice, but experimentation is half the fun!
[tags]Castlevania, Belmonts Curse, Action RPG, Weapon Tier List, Retro Gaming, Strategy Guide, Metroidvania[/tags]
[image_alt]Castlevania Belmonts Curse best weapon tier list and strategy guide overview[/image_alt]